Knitting Machines and Hybrid Knitting
I was 7 when I first learned to hand knit and about 9, or 10 when Mum taught me the basics of machine knitting on her Brother machines, first the KH840, then later the KH910, though at that time she did the casting on and off and the more complex things and I knitted under her supervision and made and designed punch cards and pattern mylars. We made a sweater inspired by a Mondrian painting for the Scottish actor Russell Hunter, though sadly I don’t think we have a photo of it. 🙁 When I bought my Silver Reed LK150 just over a year ago I was happily surprised at just how much of that information came back to me and Mum has also started to enjoy using her machine more again recently, so it has been great to share what we are working on.
Just before Christmas I finally had enough money saved up to purchase another Silver Reed machine, this time the more complex SK280 punch card machine and I have made room for both of them in the studio area at the back of the kitchen. The rigid heddle loom that was in that space has been moved through to our bedroom, along with two older bookshelves and two new taller bookshelves have been installed in the living room for my books and materials – I am so glad to have everything tidied away and off the floor, it is much easier to find things now.
I have had issues with the tendons in my thumbs and the top joints of my index and middle fingers, it is a hereditary condition. I have been trying to be careful with my hands, switching to Continental knitting around 2011 in order to balance out the amount of work done by each hand. I also tend to only hand knit around 4-6 rows/rounds on a project in one session and then give myself a break for a while, even if I have the time, I won’t knit all day long like I would have done in my 30’s.
I’m experimenting with using the machines in conjunction with hand knitting, I will still enjoy hand knitting, but I will mostly knit things that are either knitted in the round, or with the more complex textures and techniques that I enjoy, but that are harder to replicate on the machine, like cables, Estonian and Shetland lace, plus garter and moss stitch which would require lots of hand manipulation, so much so that you are often better just to pick up those stitches and work them by hand. It takes a bit of sampling to match the knitting machine gauge to that of the hand knitting, but I don’t mind that too much, I just need to make sure I have enough yarn for that sampling process.
The other thing that comes with knitting flat on the machine is sewing up.The machine has made me better at finishing my projects,I fear sewing up far less than I did before,working on smaller projects with each machine to start with has made me feel more at home with mattress stitch. I still don’t enjoy sewing buttons on, picking them out is far more fun!
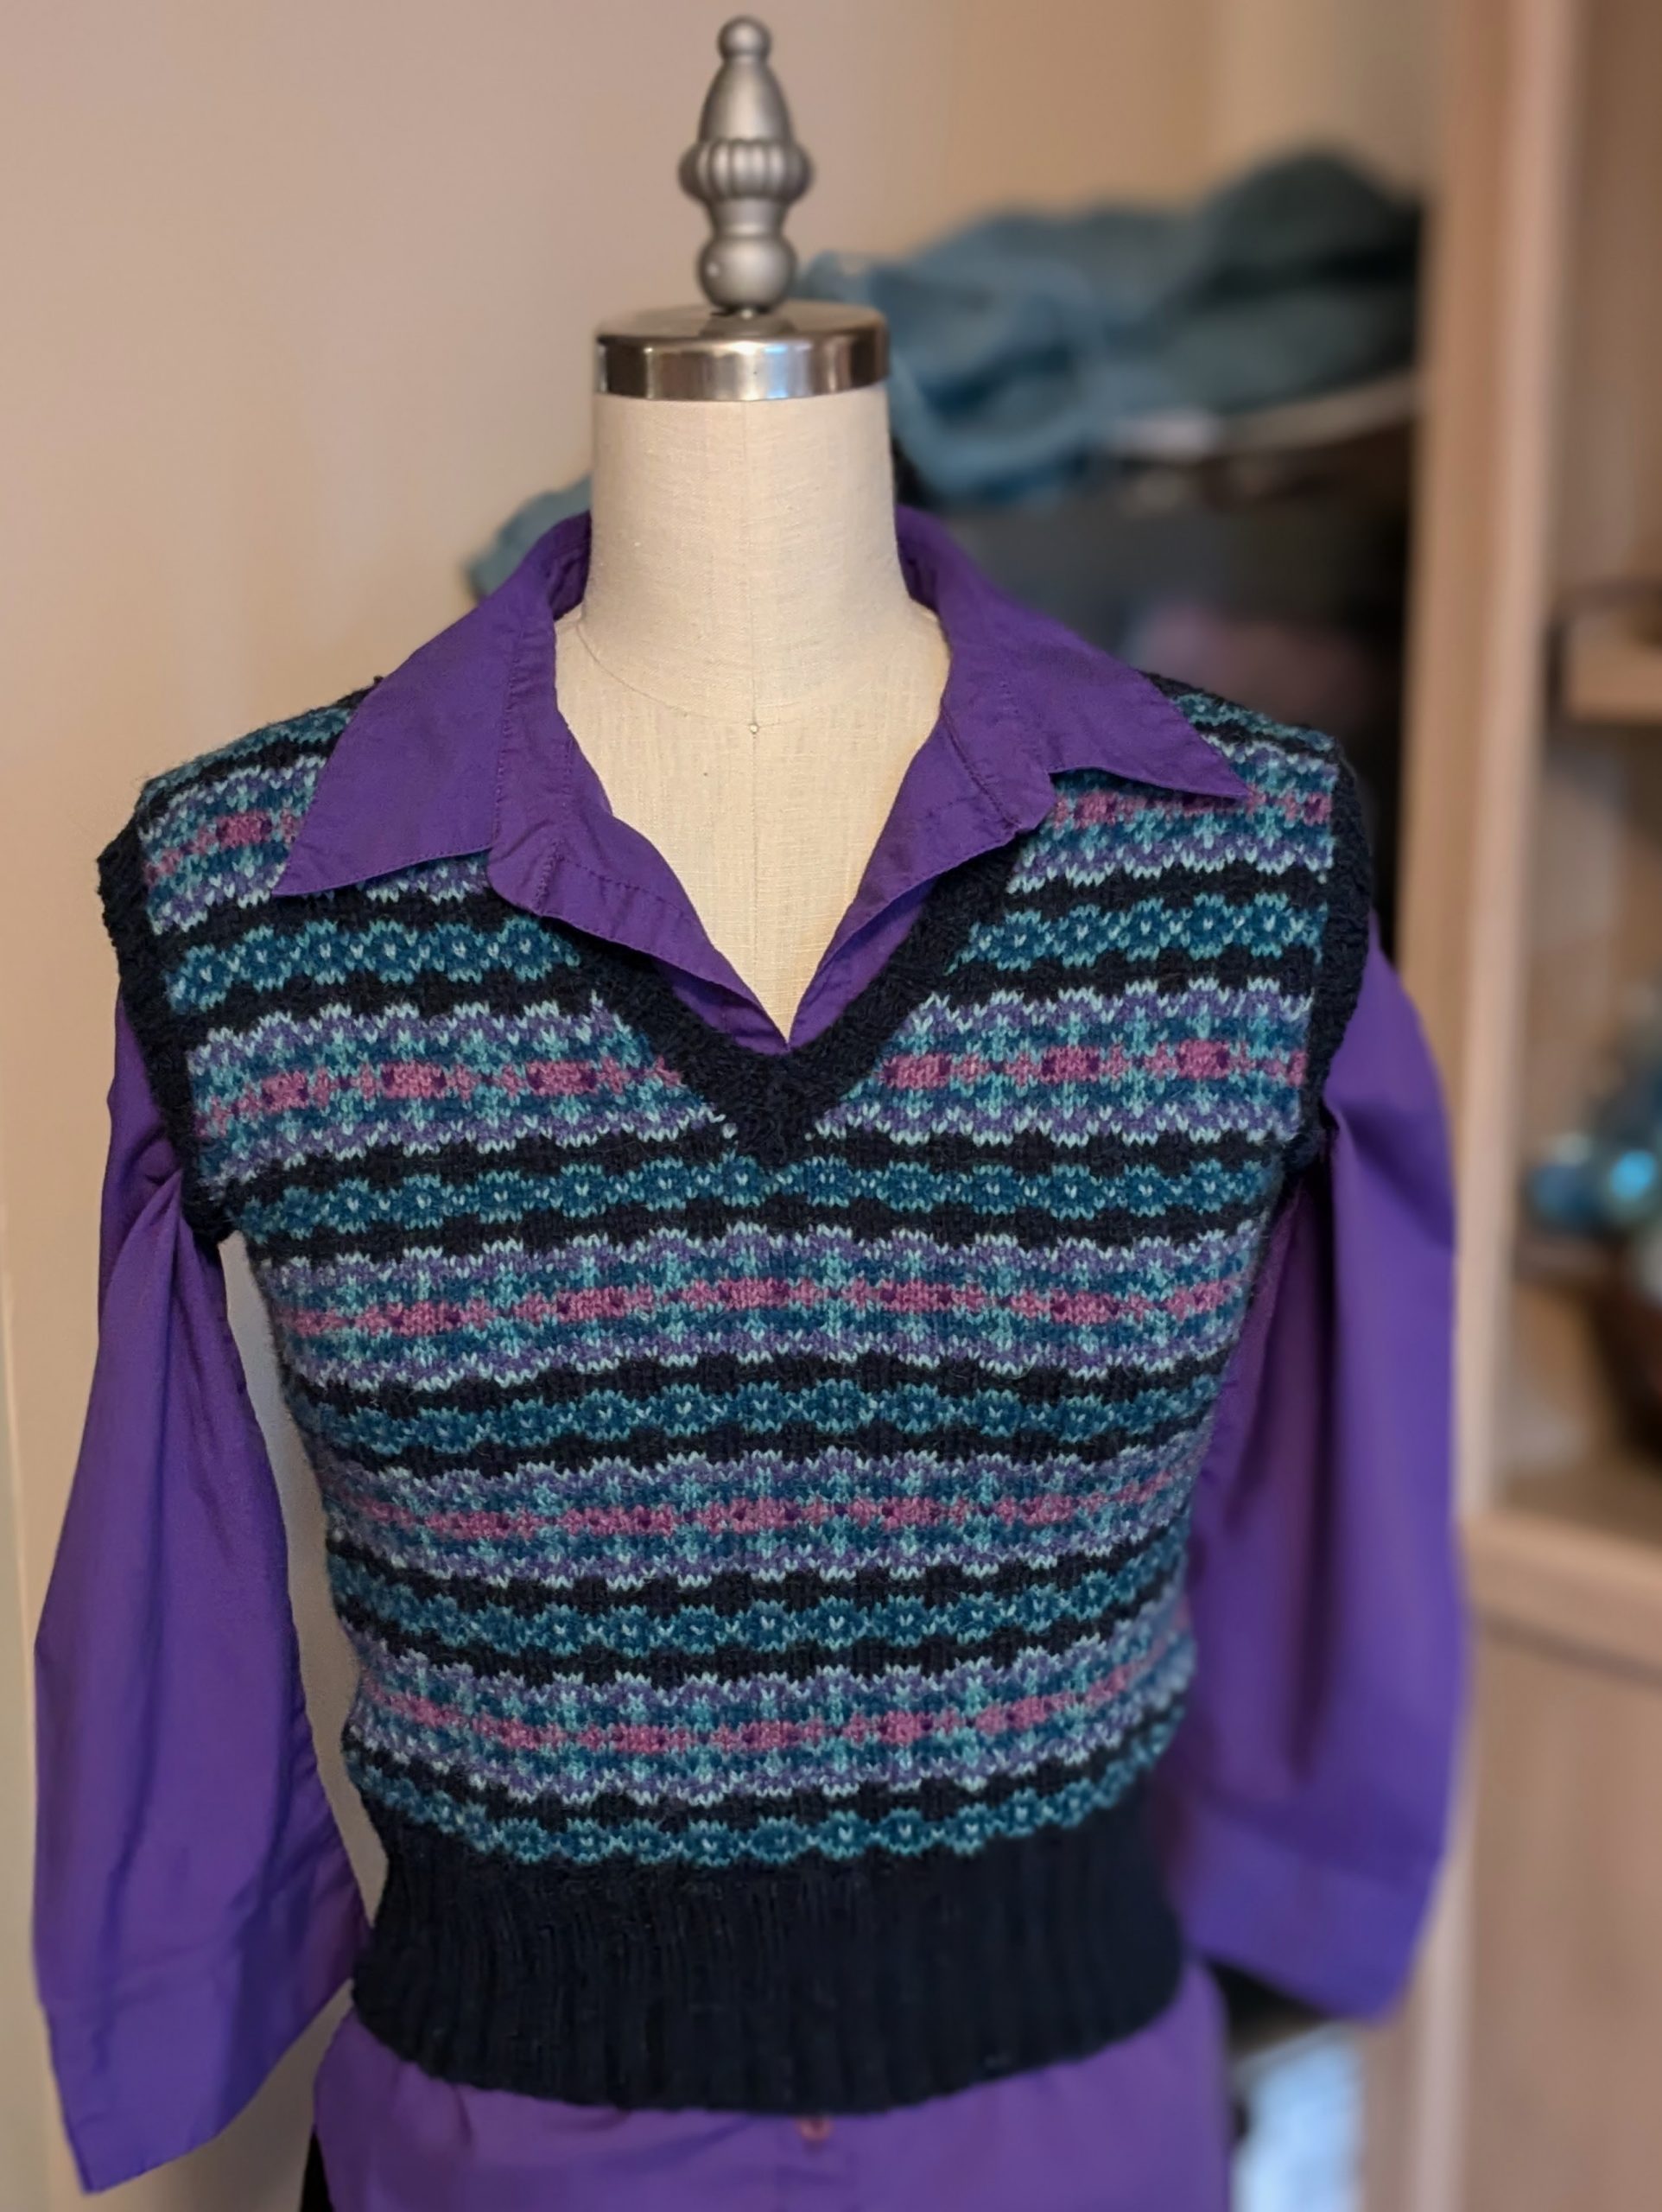
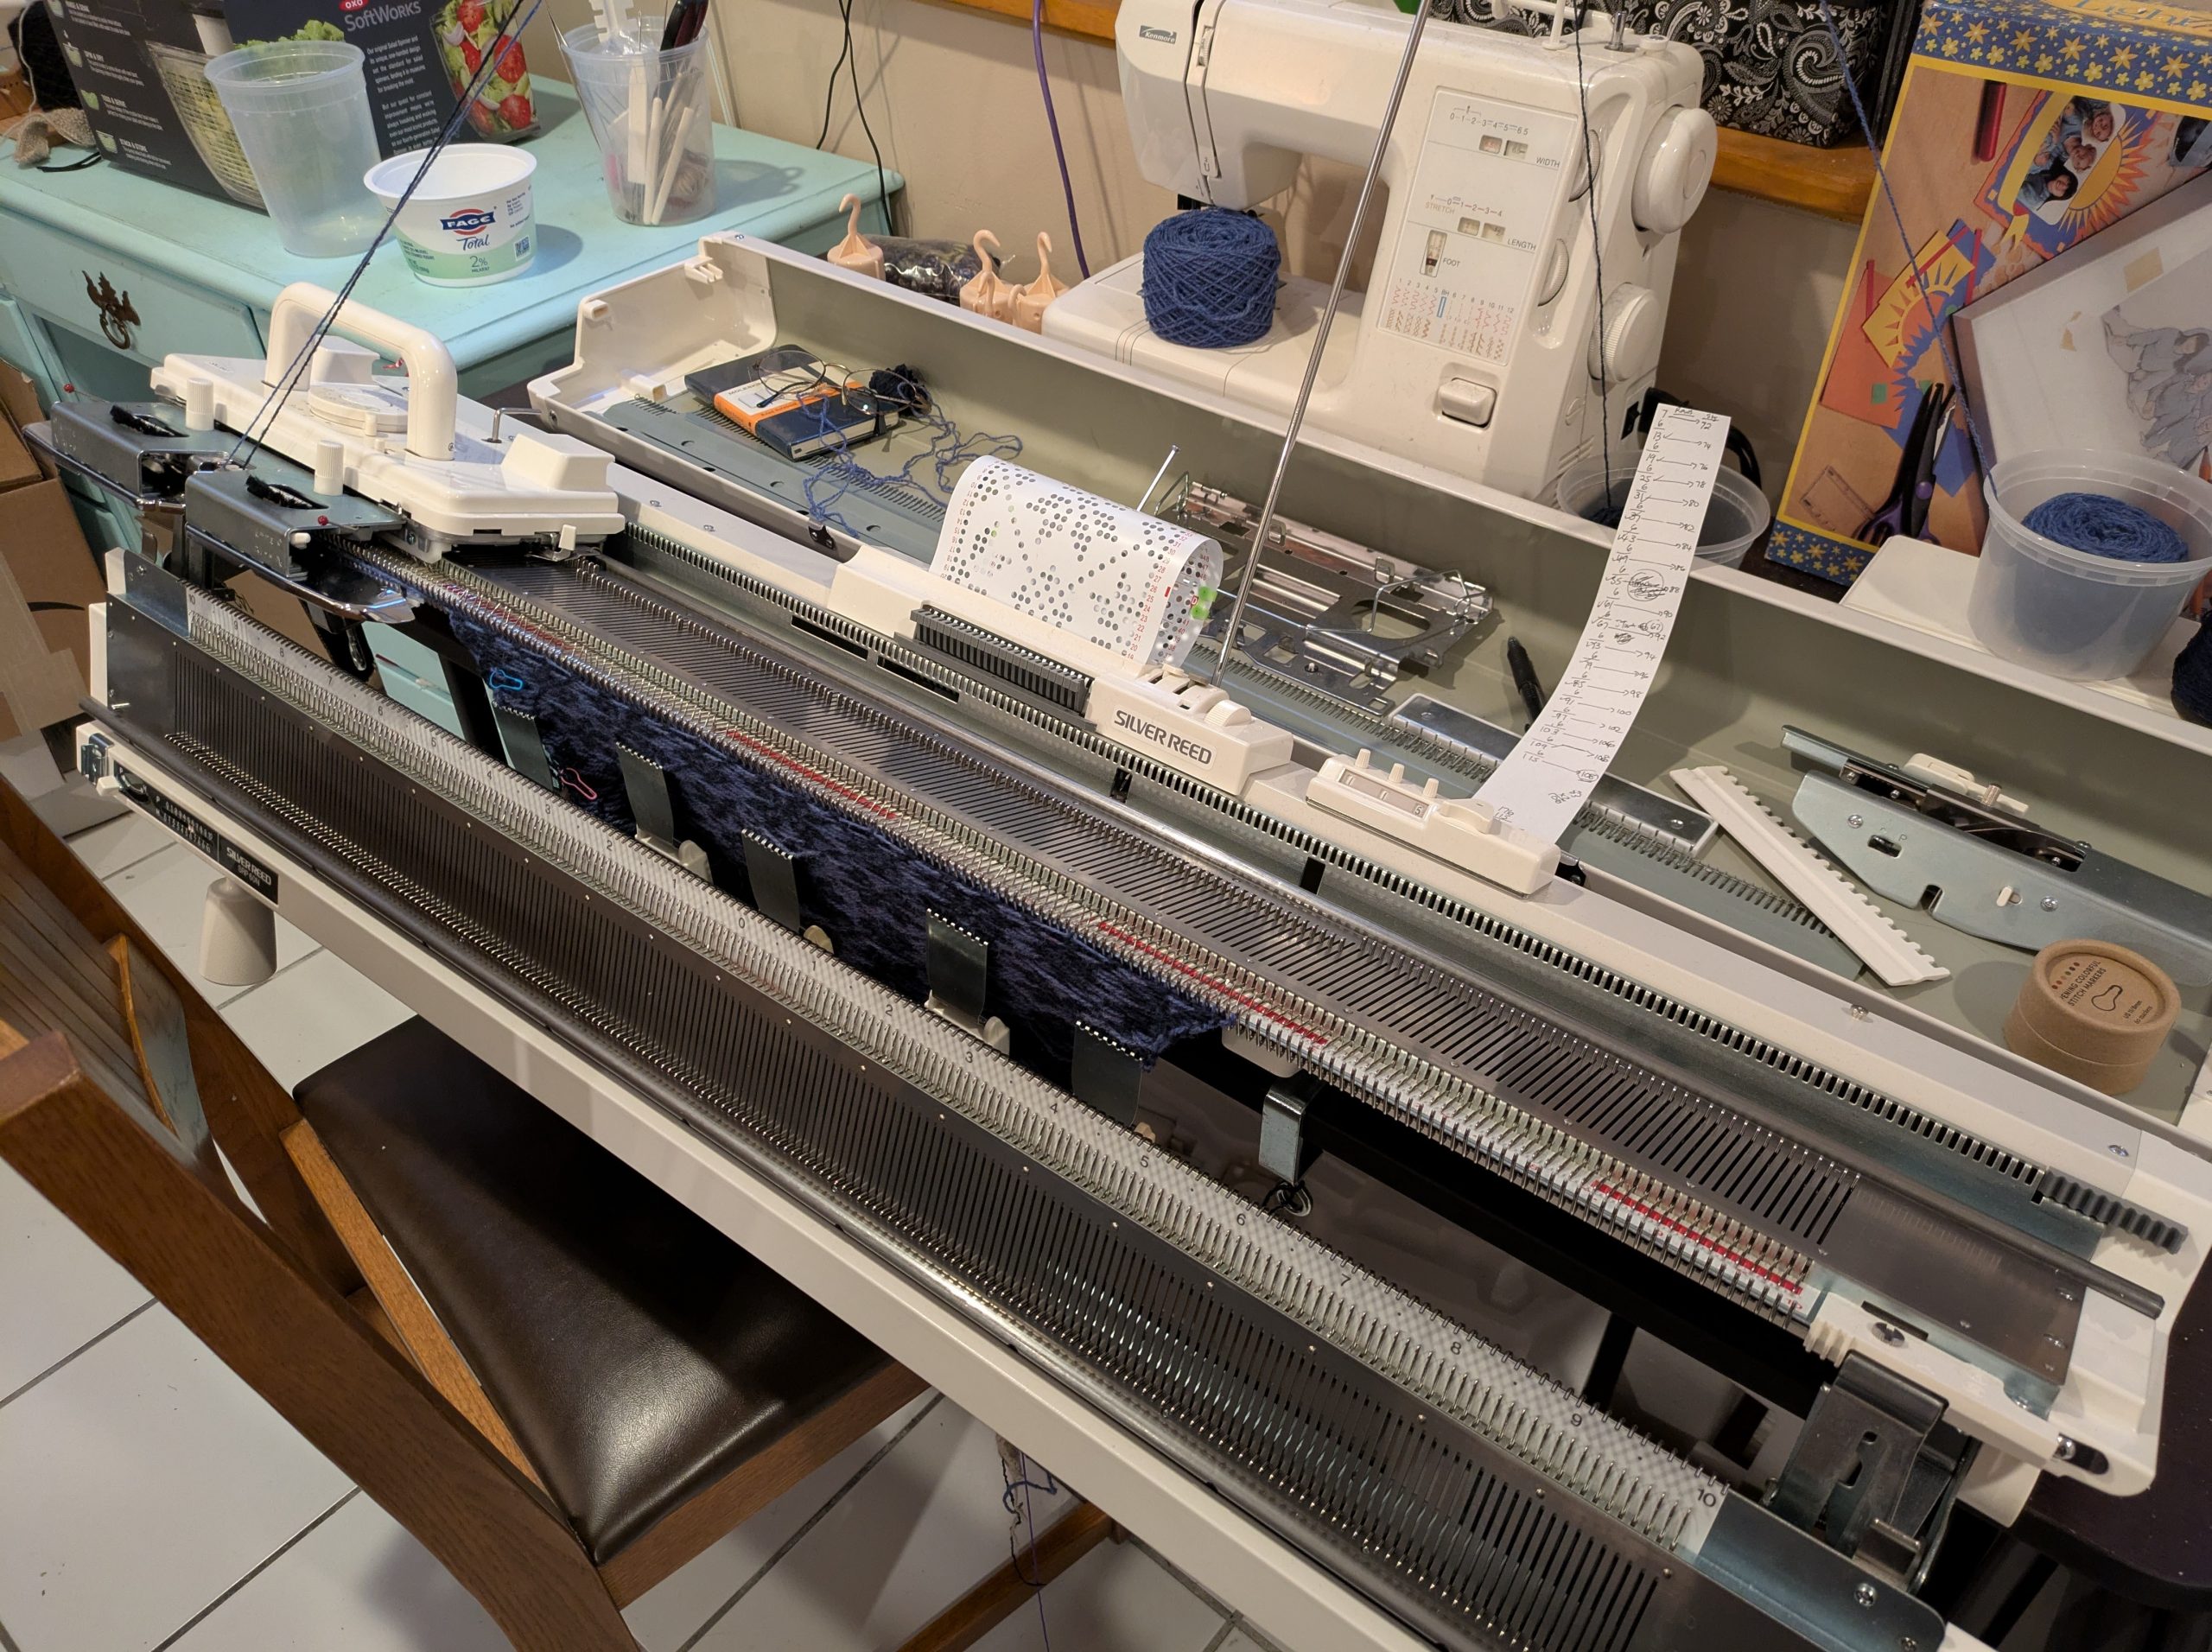
I’m going to add machine knitting explorations to the blog. The photos I have included of finished sweaters are ones knitted on the LK 150 so far and the two sleeves for my current project on the Sk280. This will be a cardigan,the base pattern is an Alison Dupernex pattern from her book Creative Machine Knitting and I am using one of the basic punch cards that came with my machine. I’m trying to decide on if I want a fully patterned cardigan, or just the sleeves. I’m hand knitting the garter stitch cuff of the second sleeve at the moment. The waistband and the button bands are also garter stitch. If the body is to be fully patterned I may need more of the contrasting colour, so for this one I may just make the contrasting sleeves and a plain body, to get the feel of the technique before I make anything else. I need to work out a different way to do the increases in pattern to avoid dropped stitches on the edges.There were a few of them, but I was able to sort them out with a crochet hook and a tapestry needle.
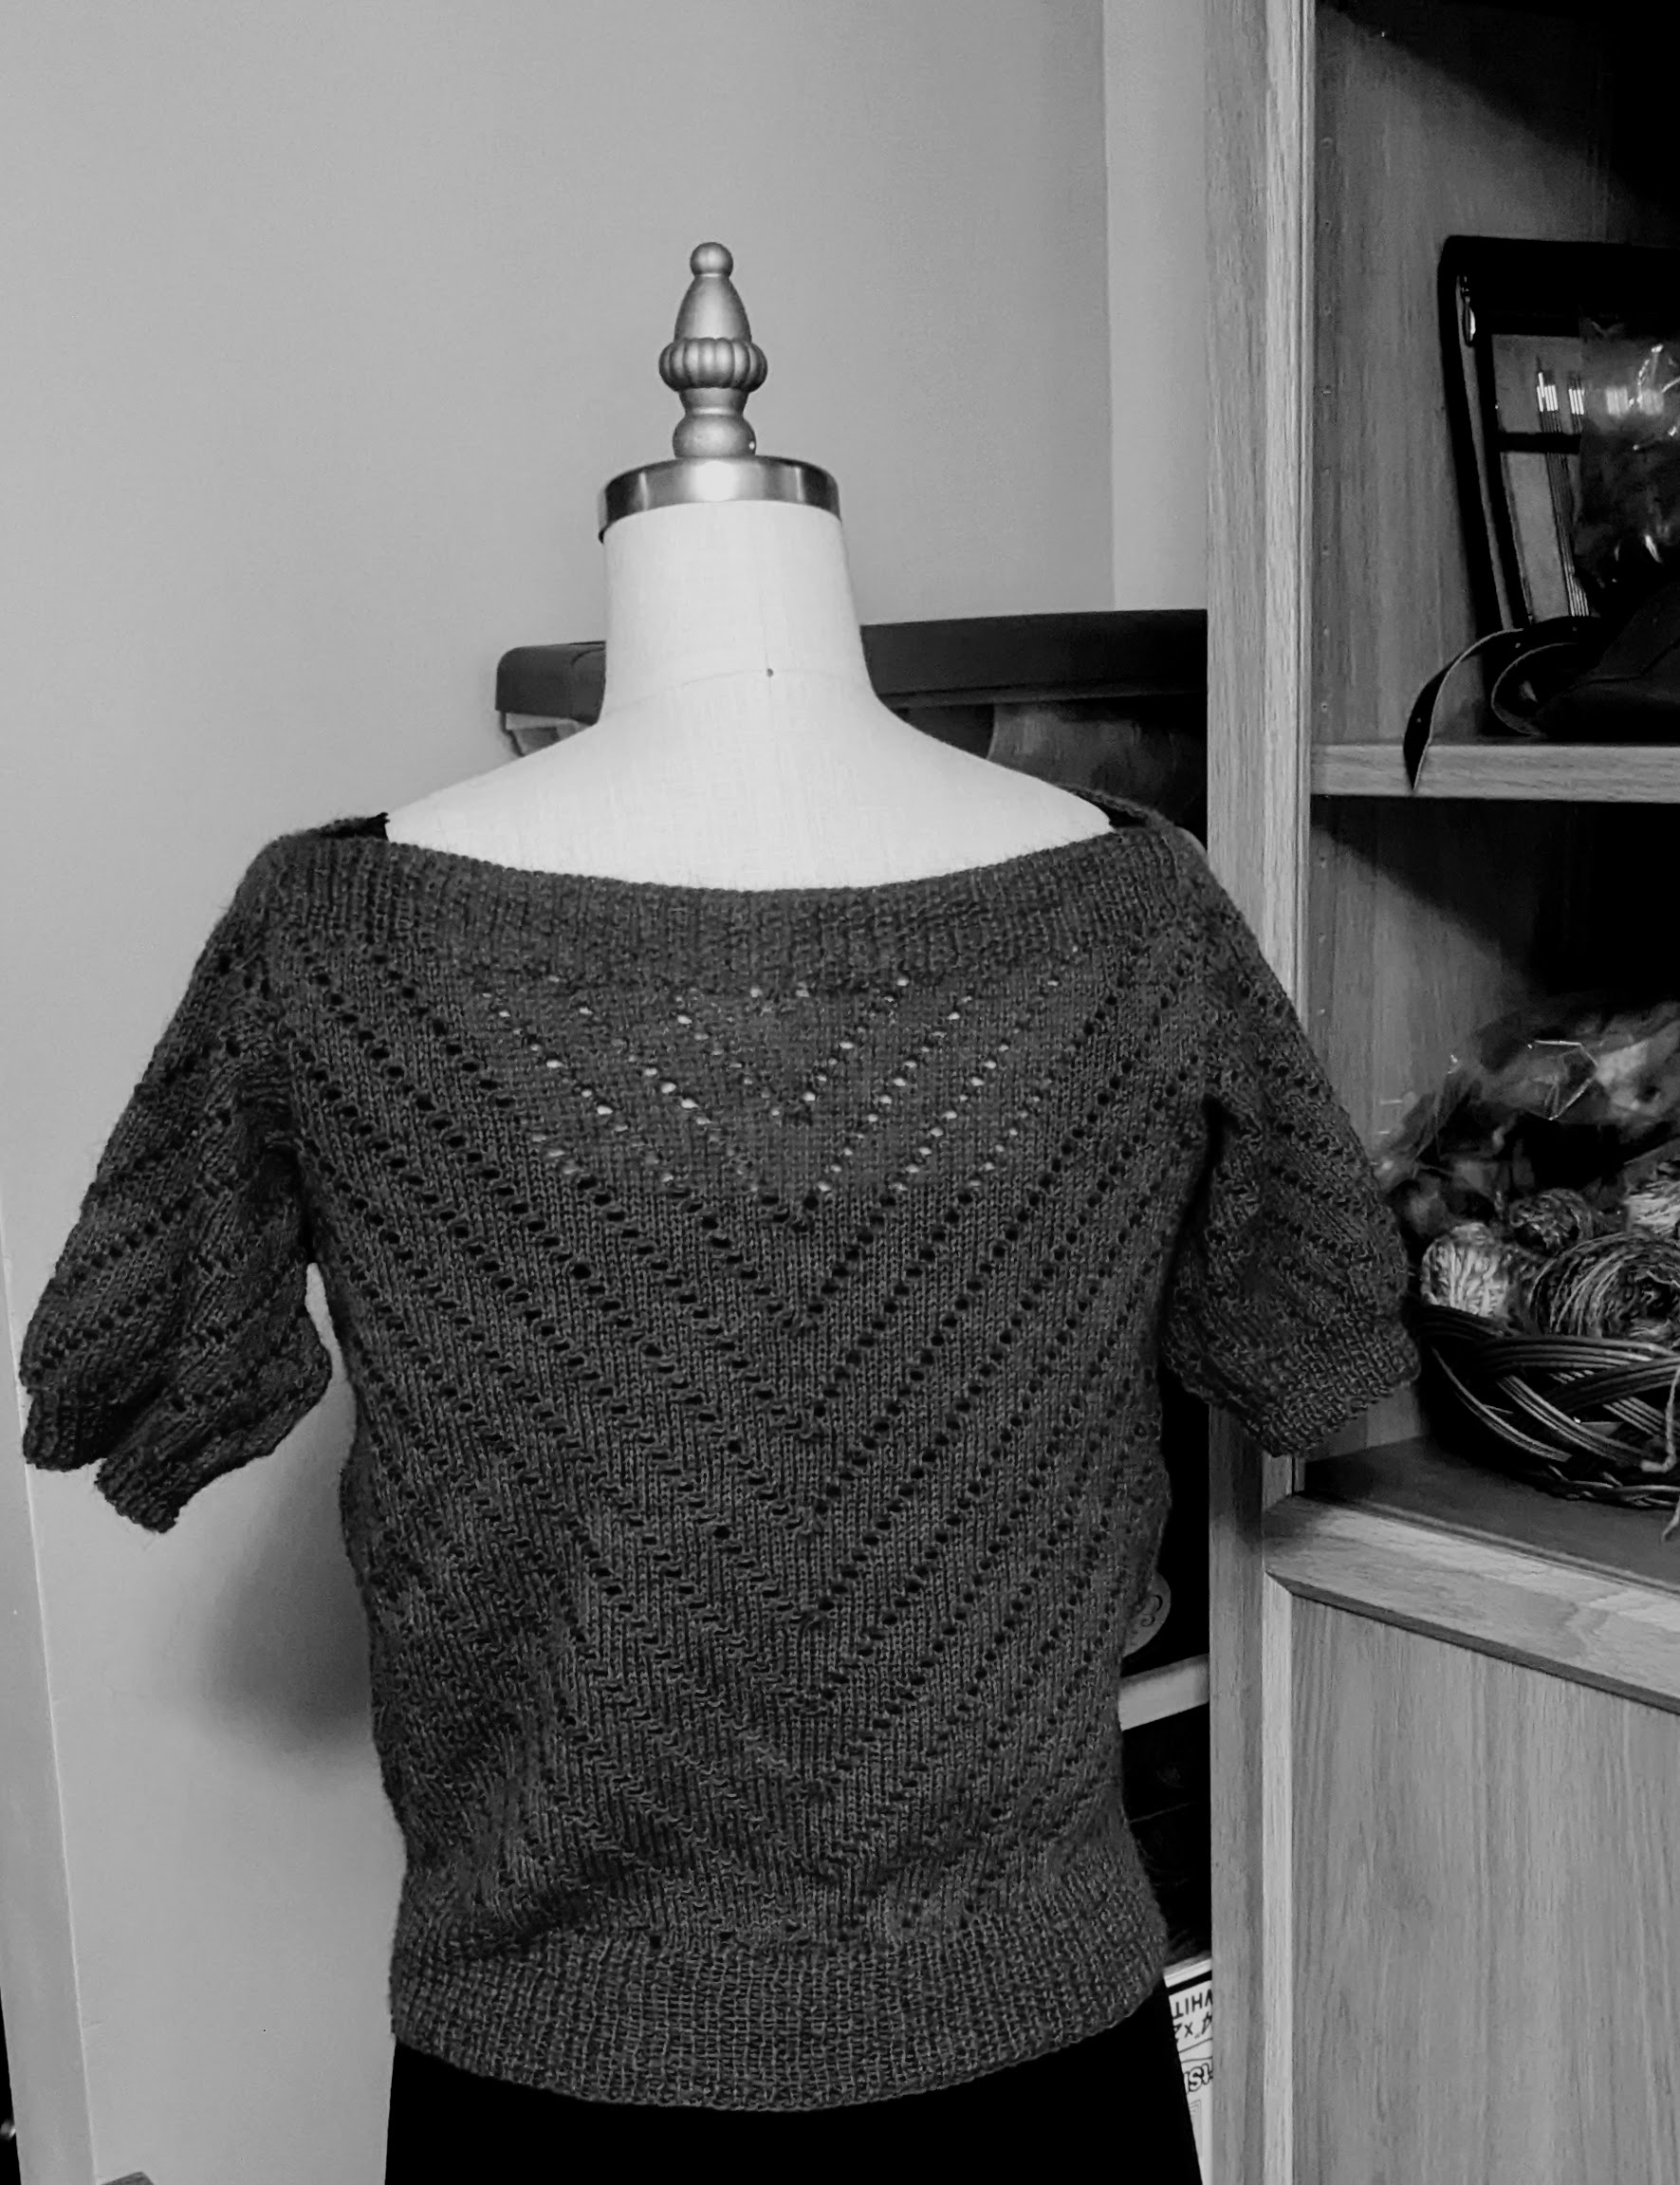
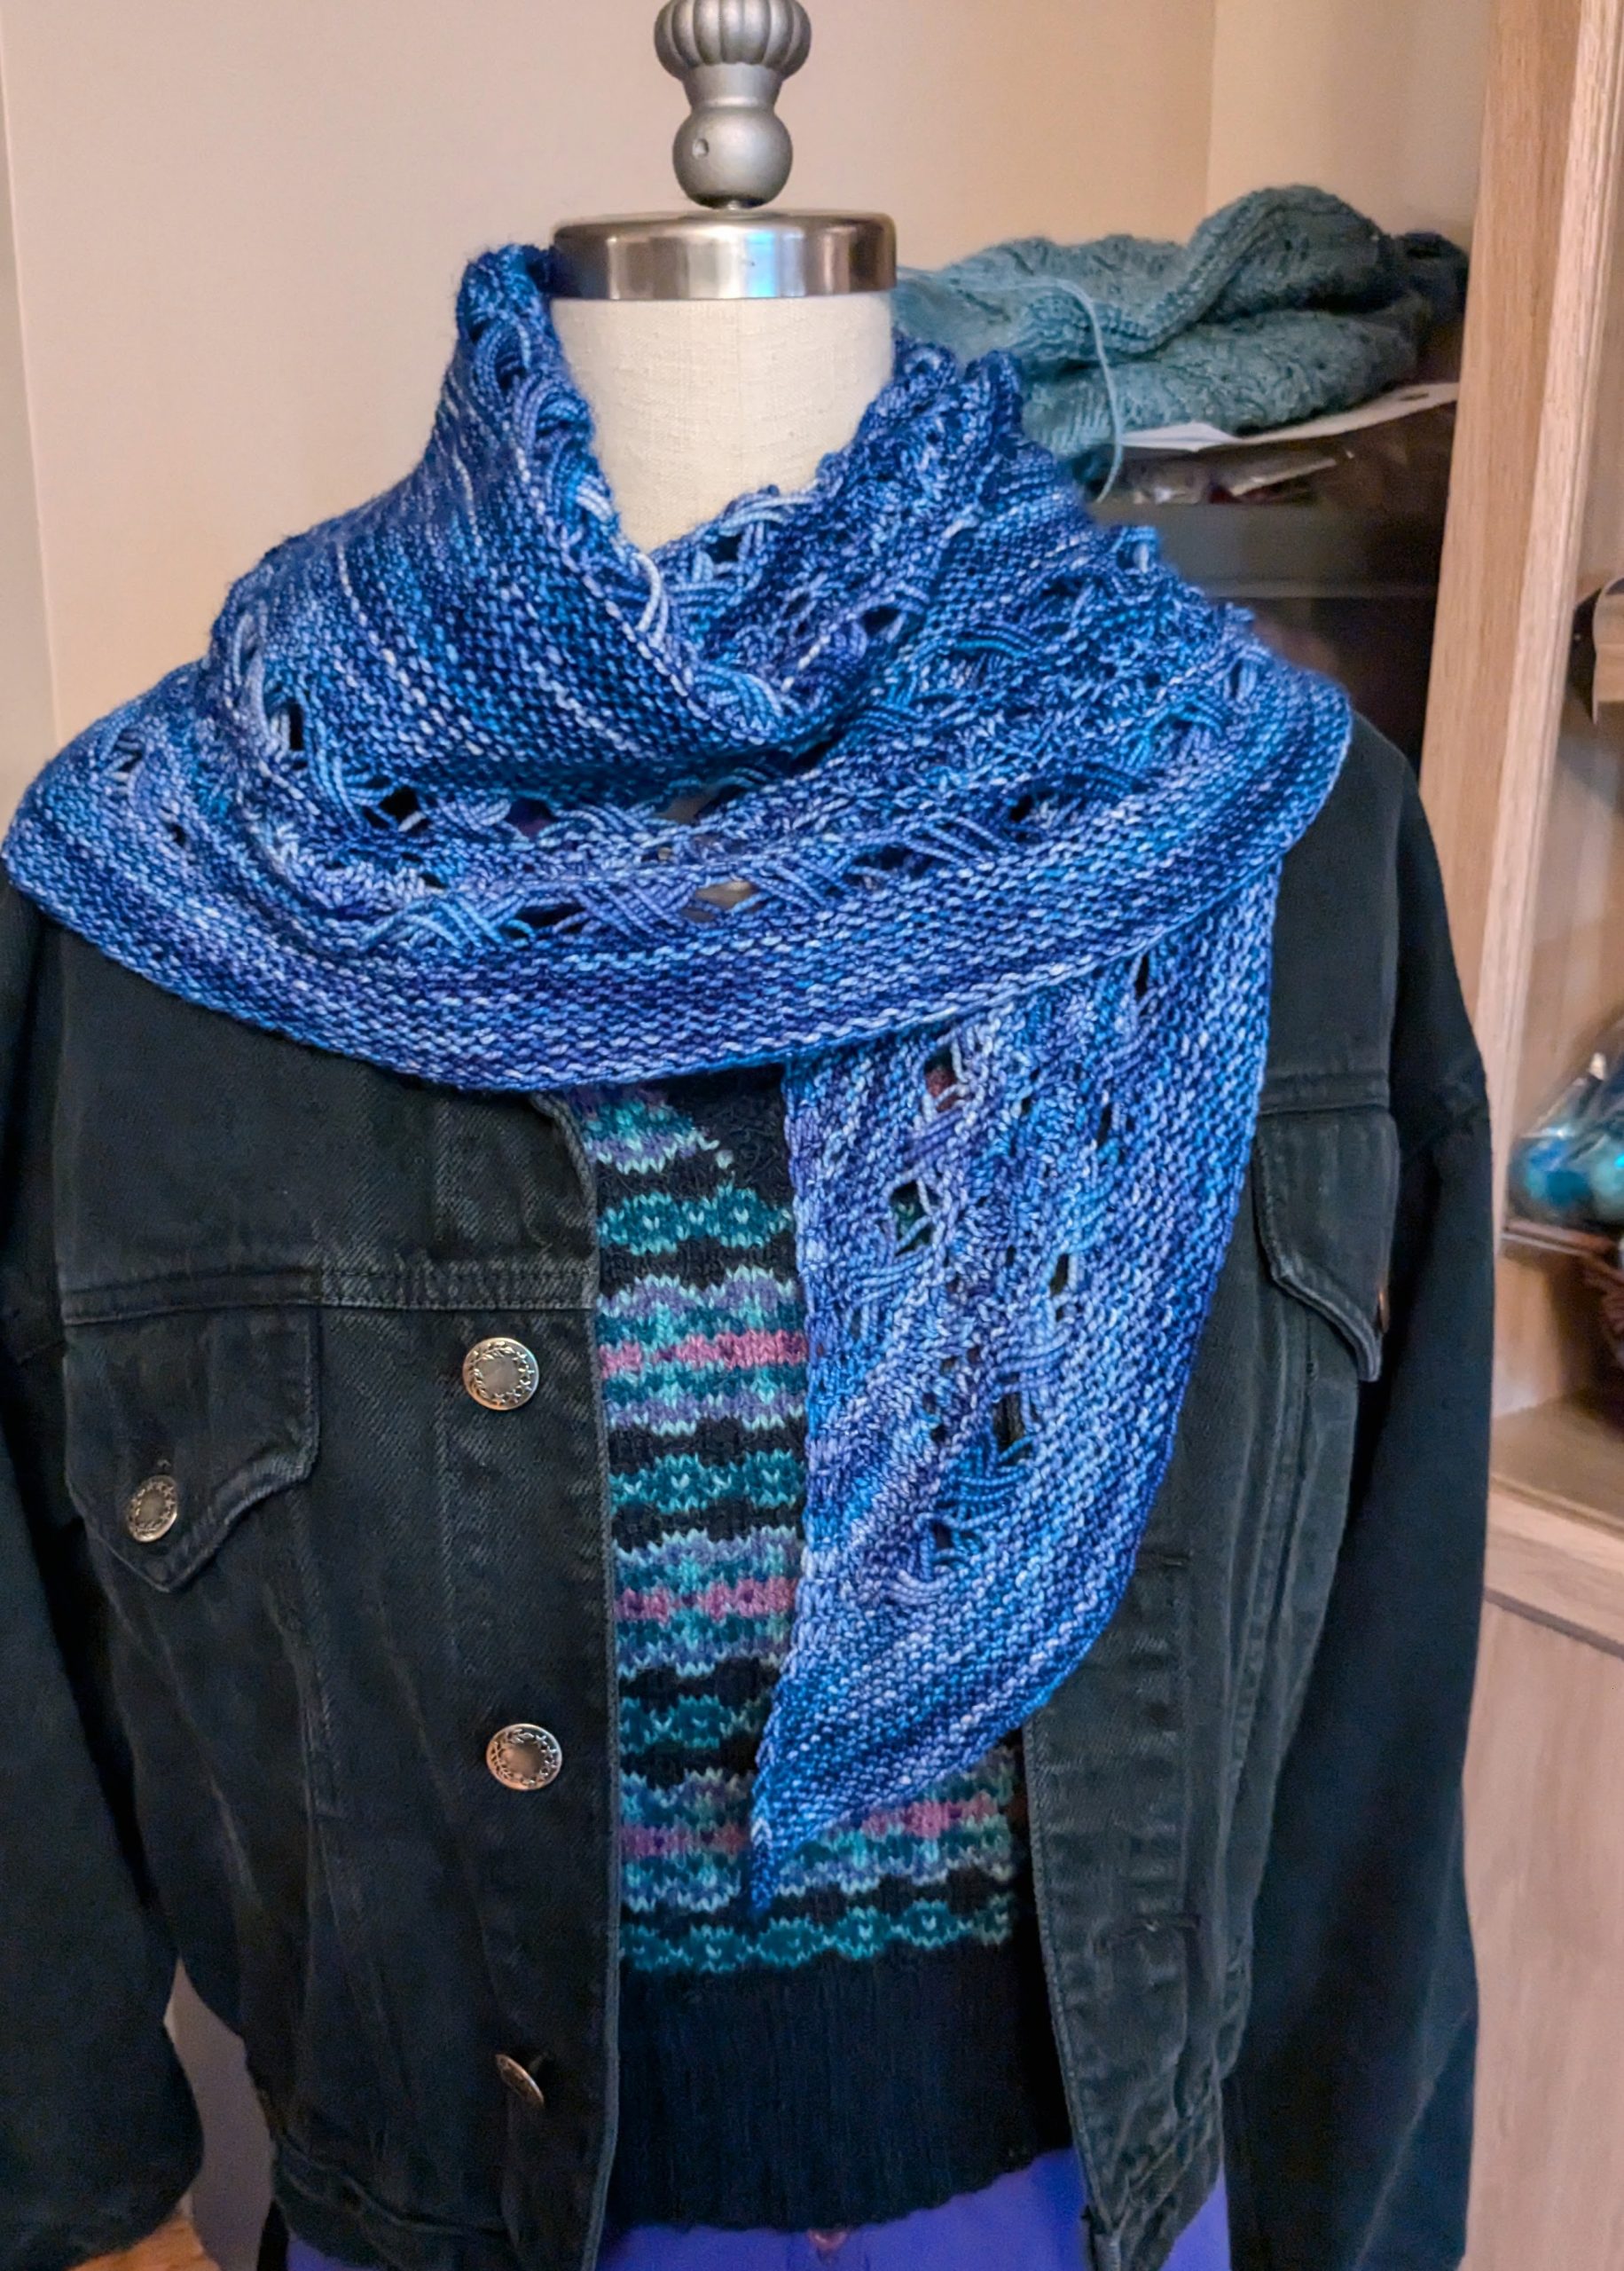
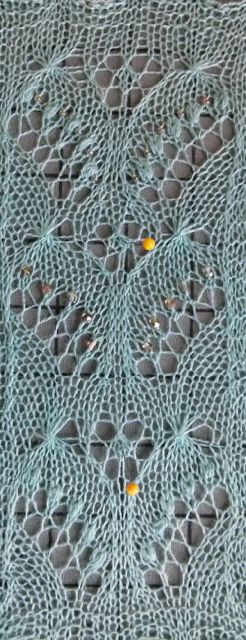
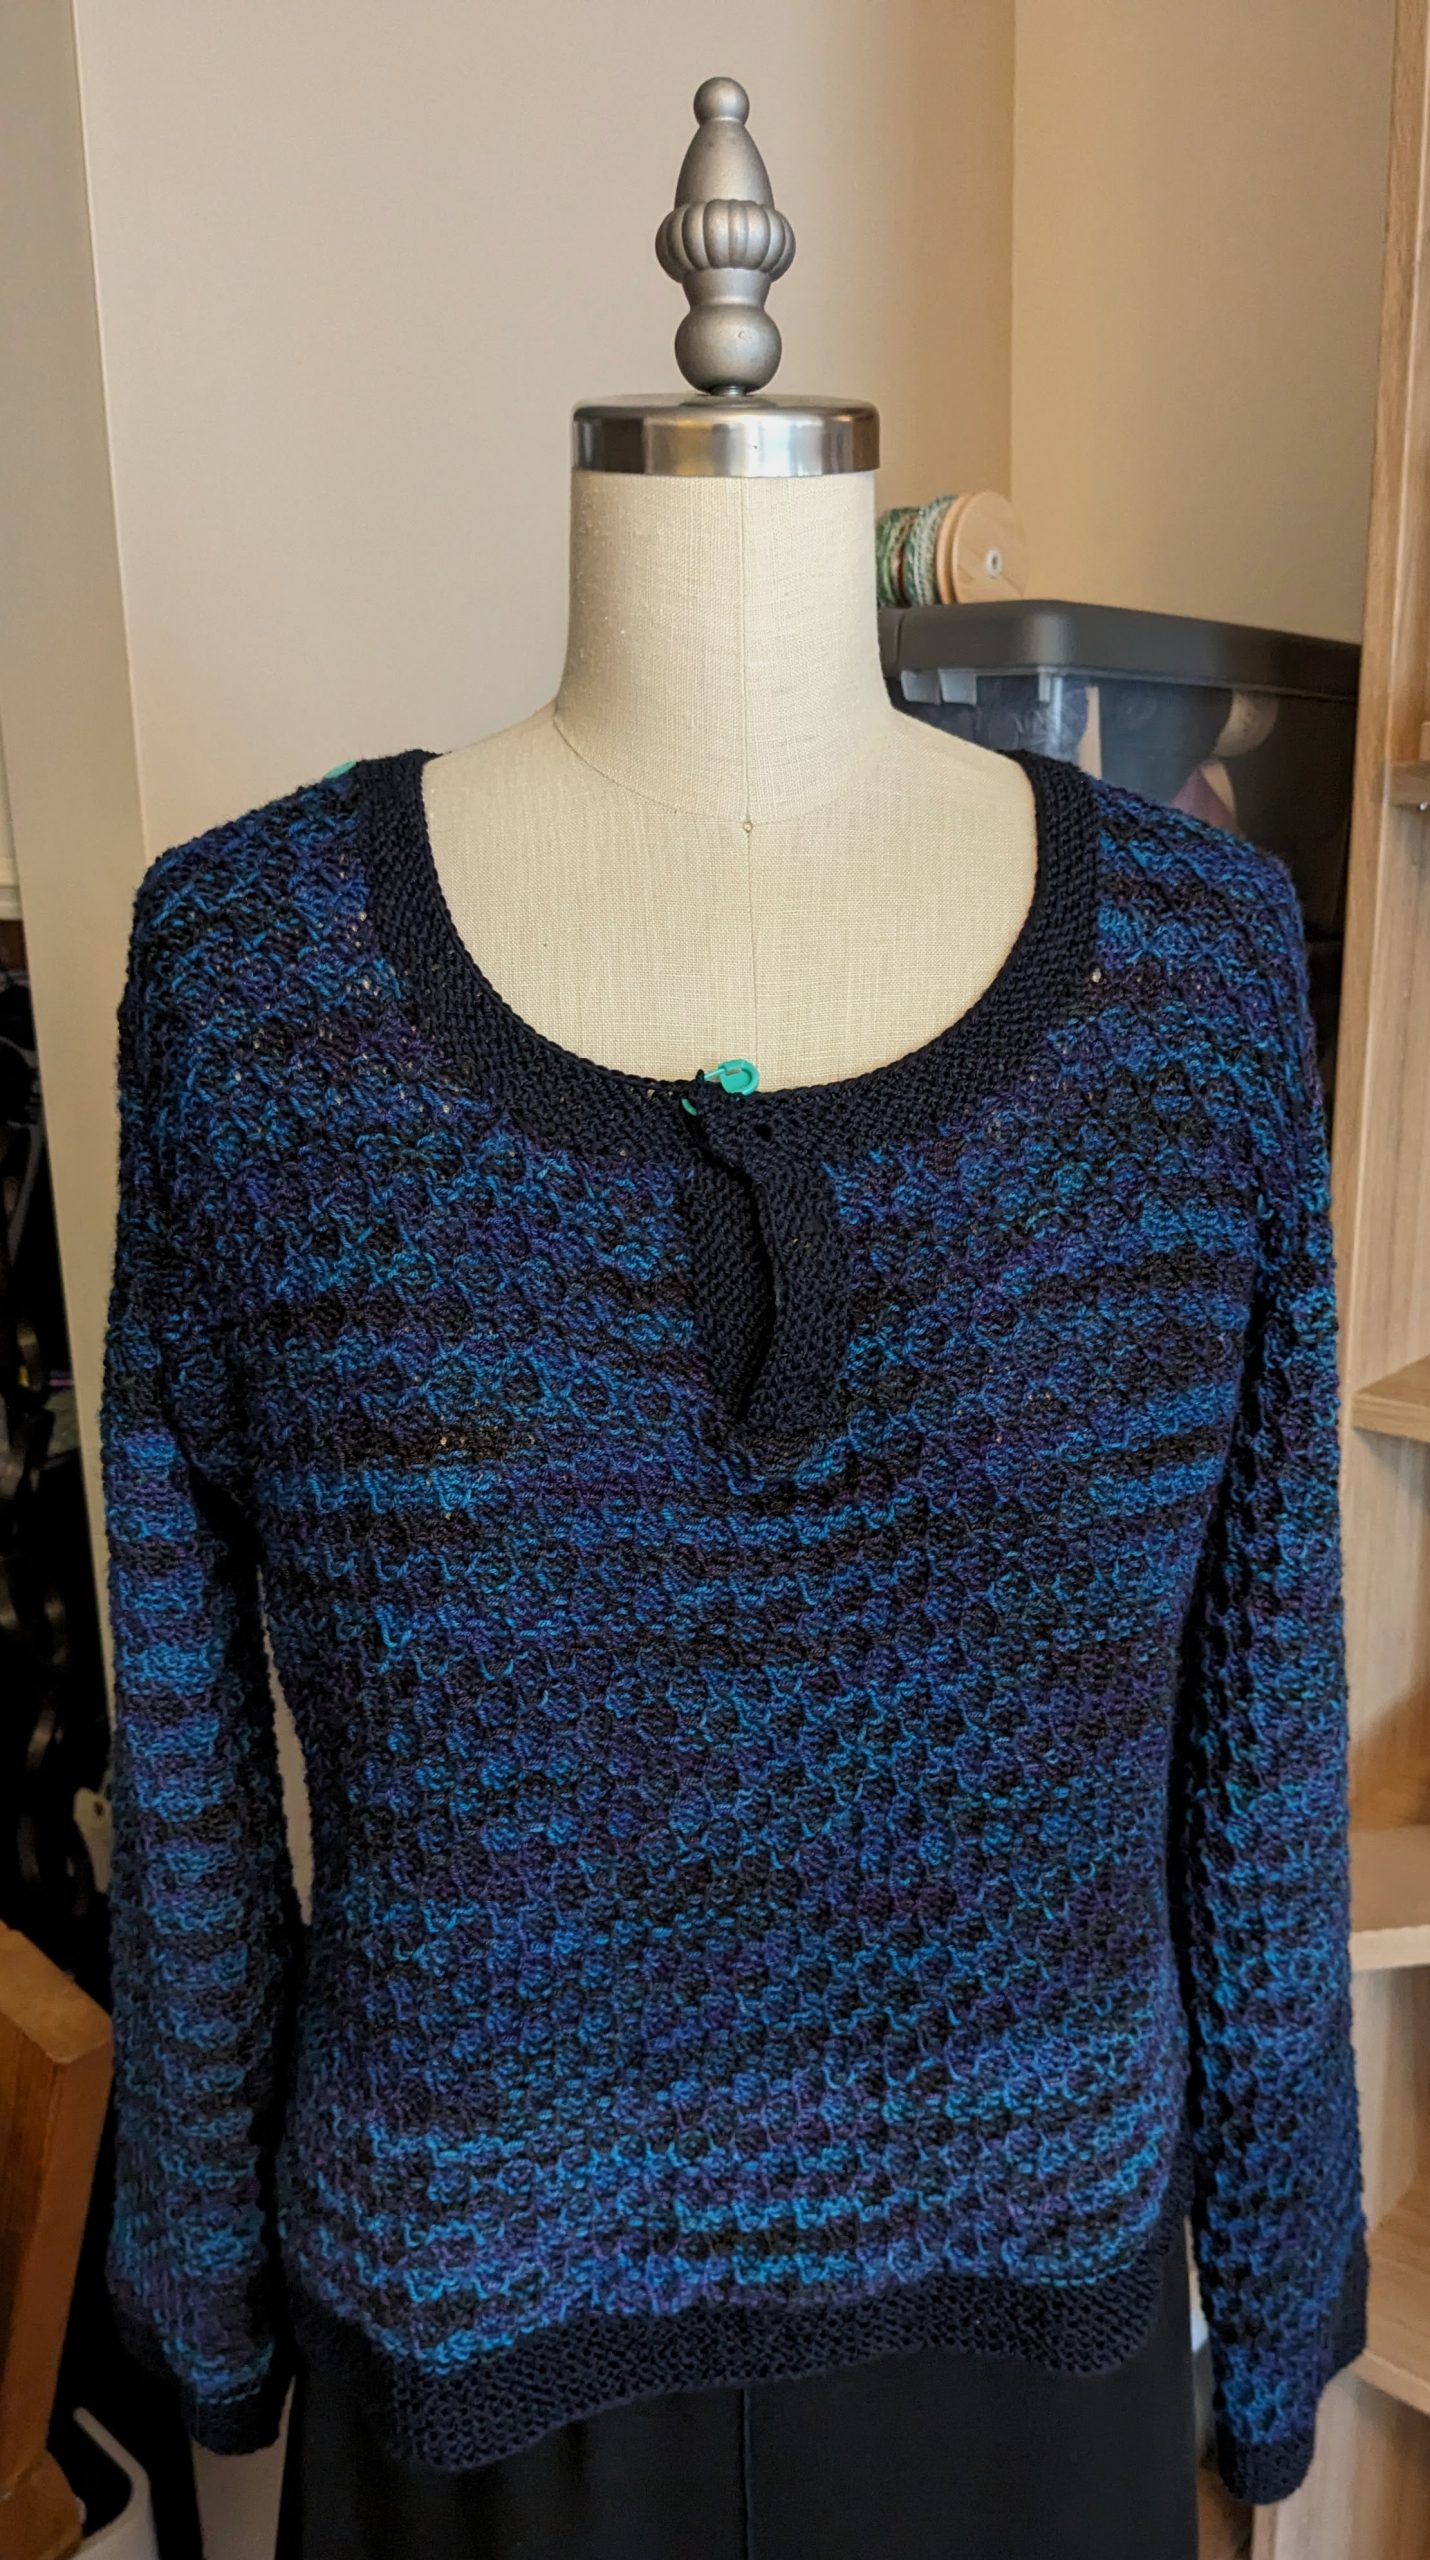
This lace sweater above is Susan Crawford’s Jan sweater from her book A Stitch In Time Volume 2. I have a previous edition, she recently updated the series to have a larger range of sizes. The one thing I accidentally changed was the number of rows between lace rows, on mine the lace is hand manipulated every 2nd row, but on Susan’s it is every 4th, but either way it works beautifully. Mine is made with Jaggerspun 2/8 Heathers in Hollyberry – a gorgeous bright red that refuses to be photographed properly. Sadly Jaggerspun are closing, their yarns are lovely to work with if you can find them.
https://susancrawfordvintage.com/products/a-stitch-in-time-volume-2-revisited
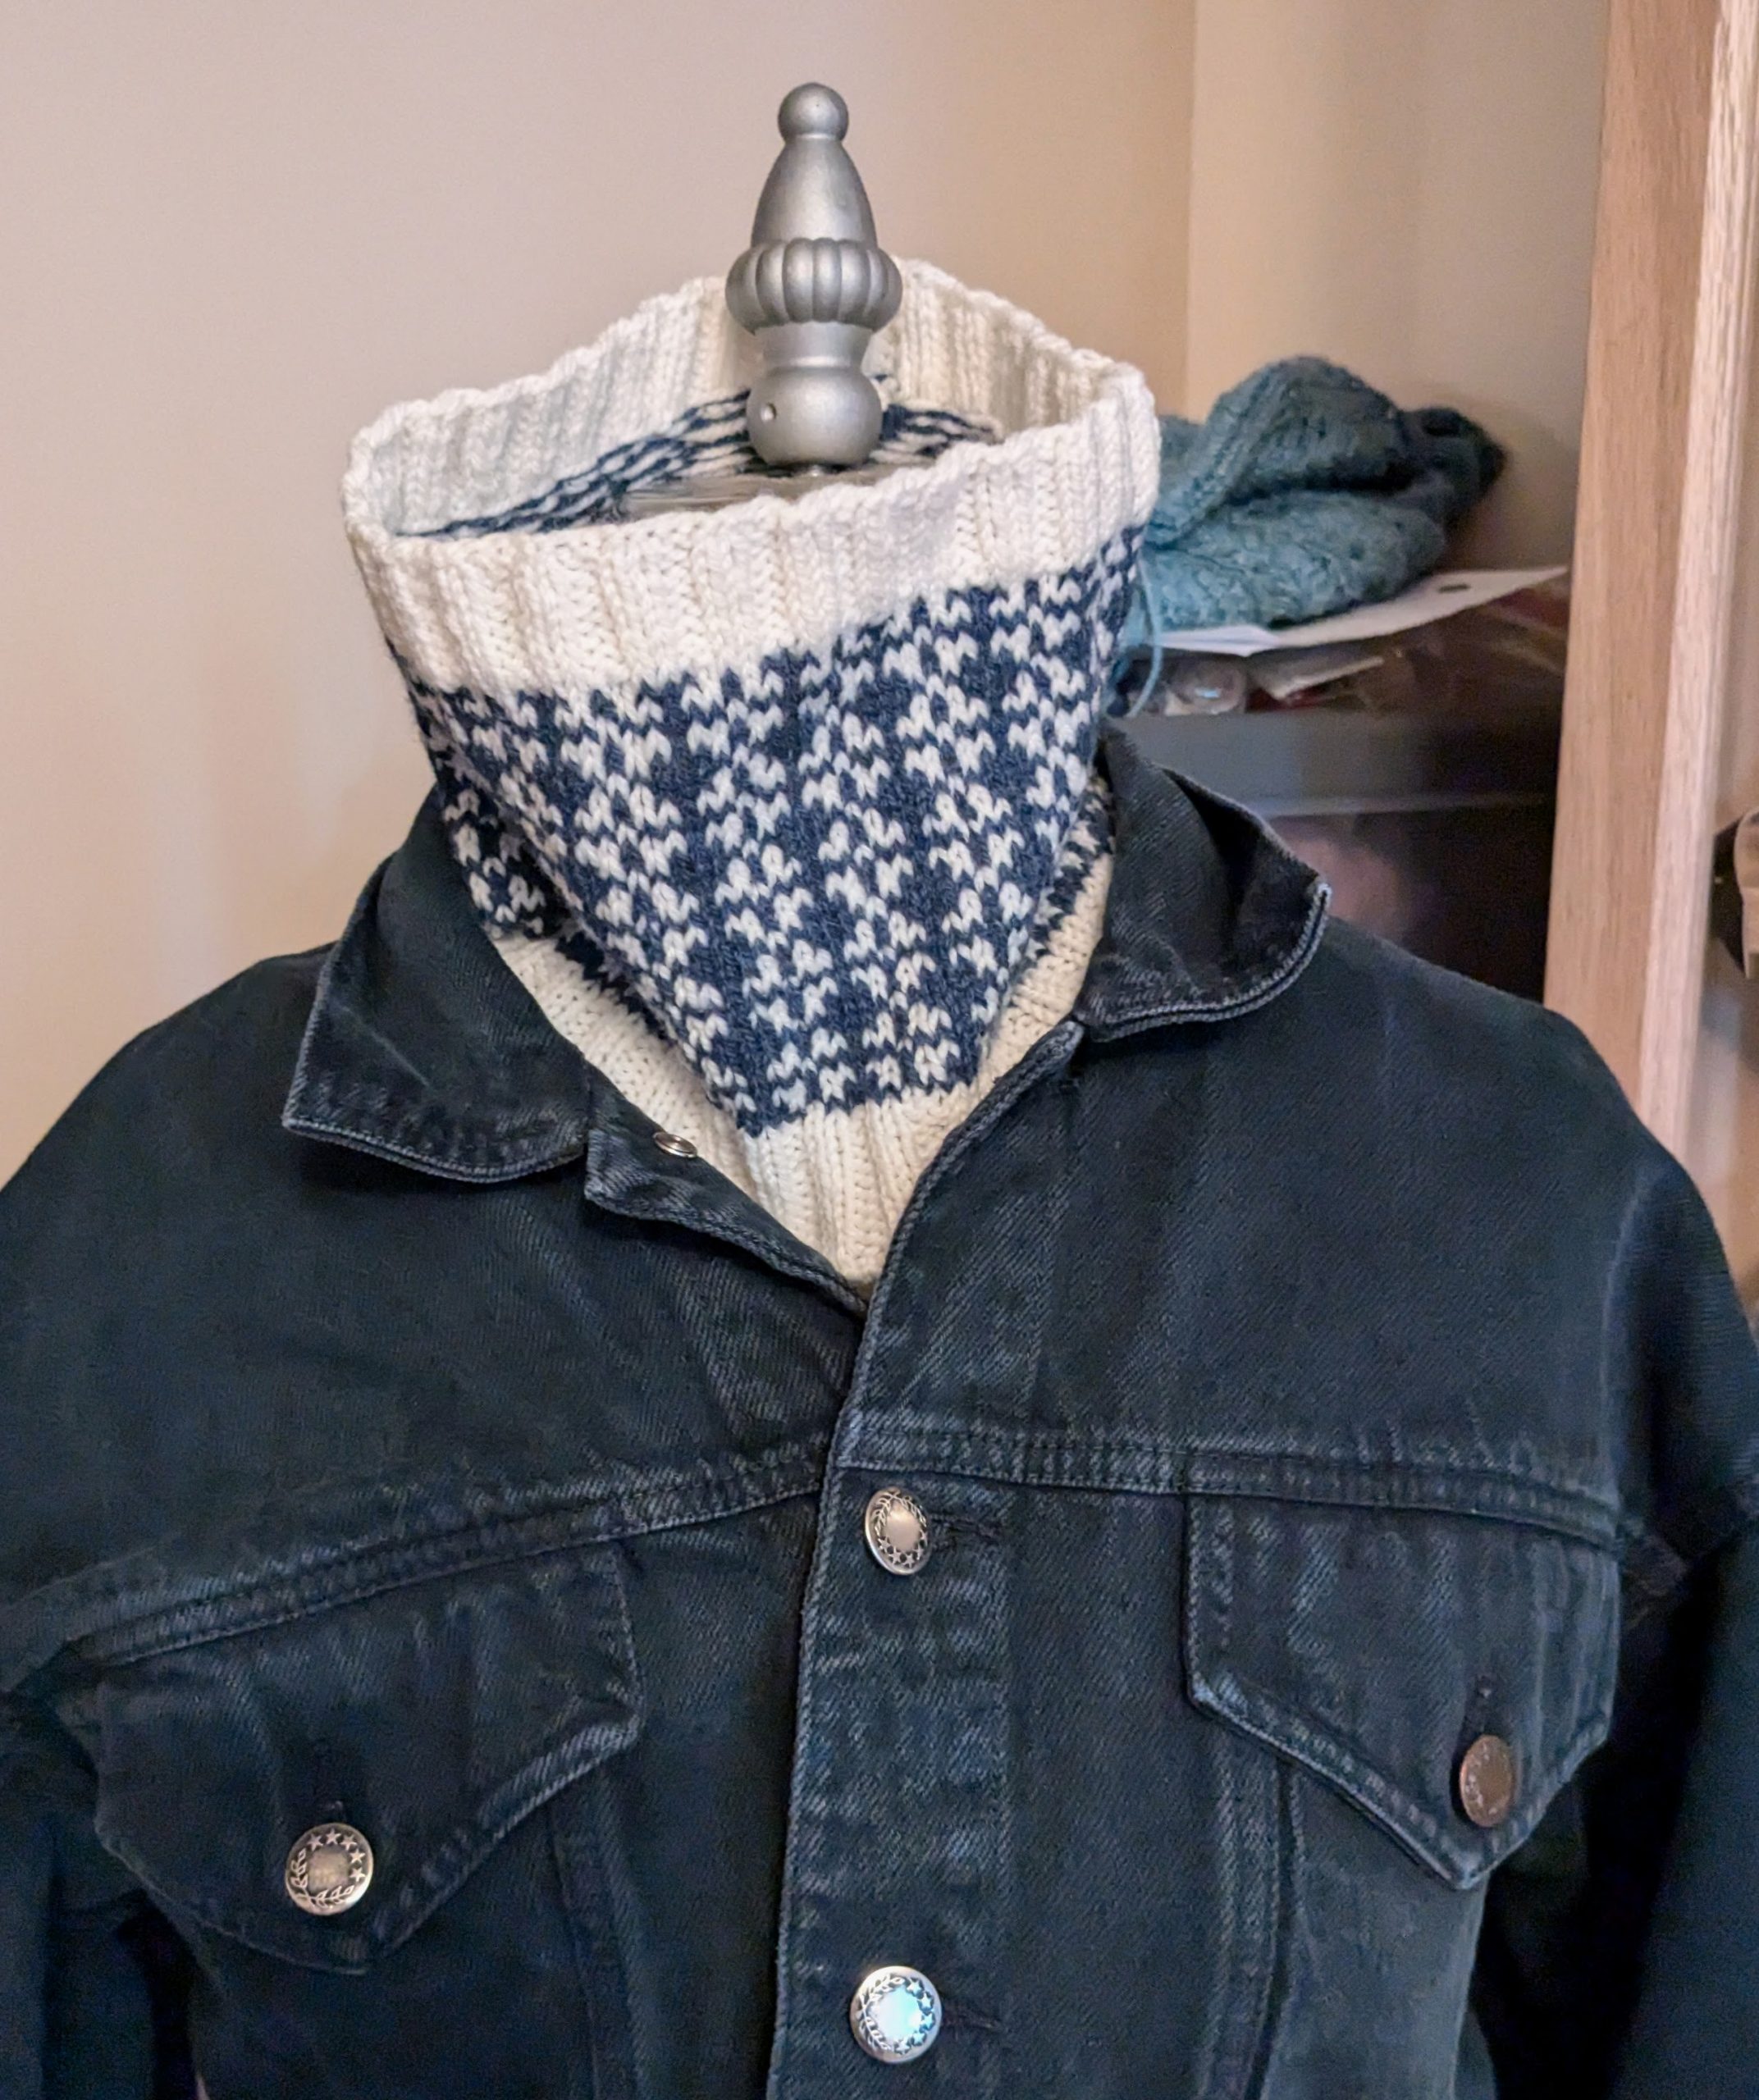
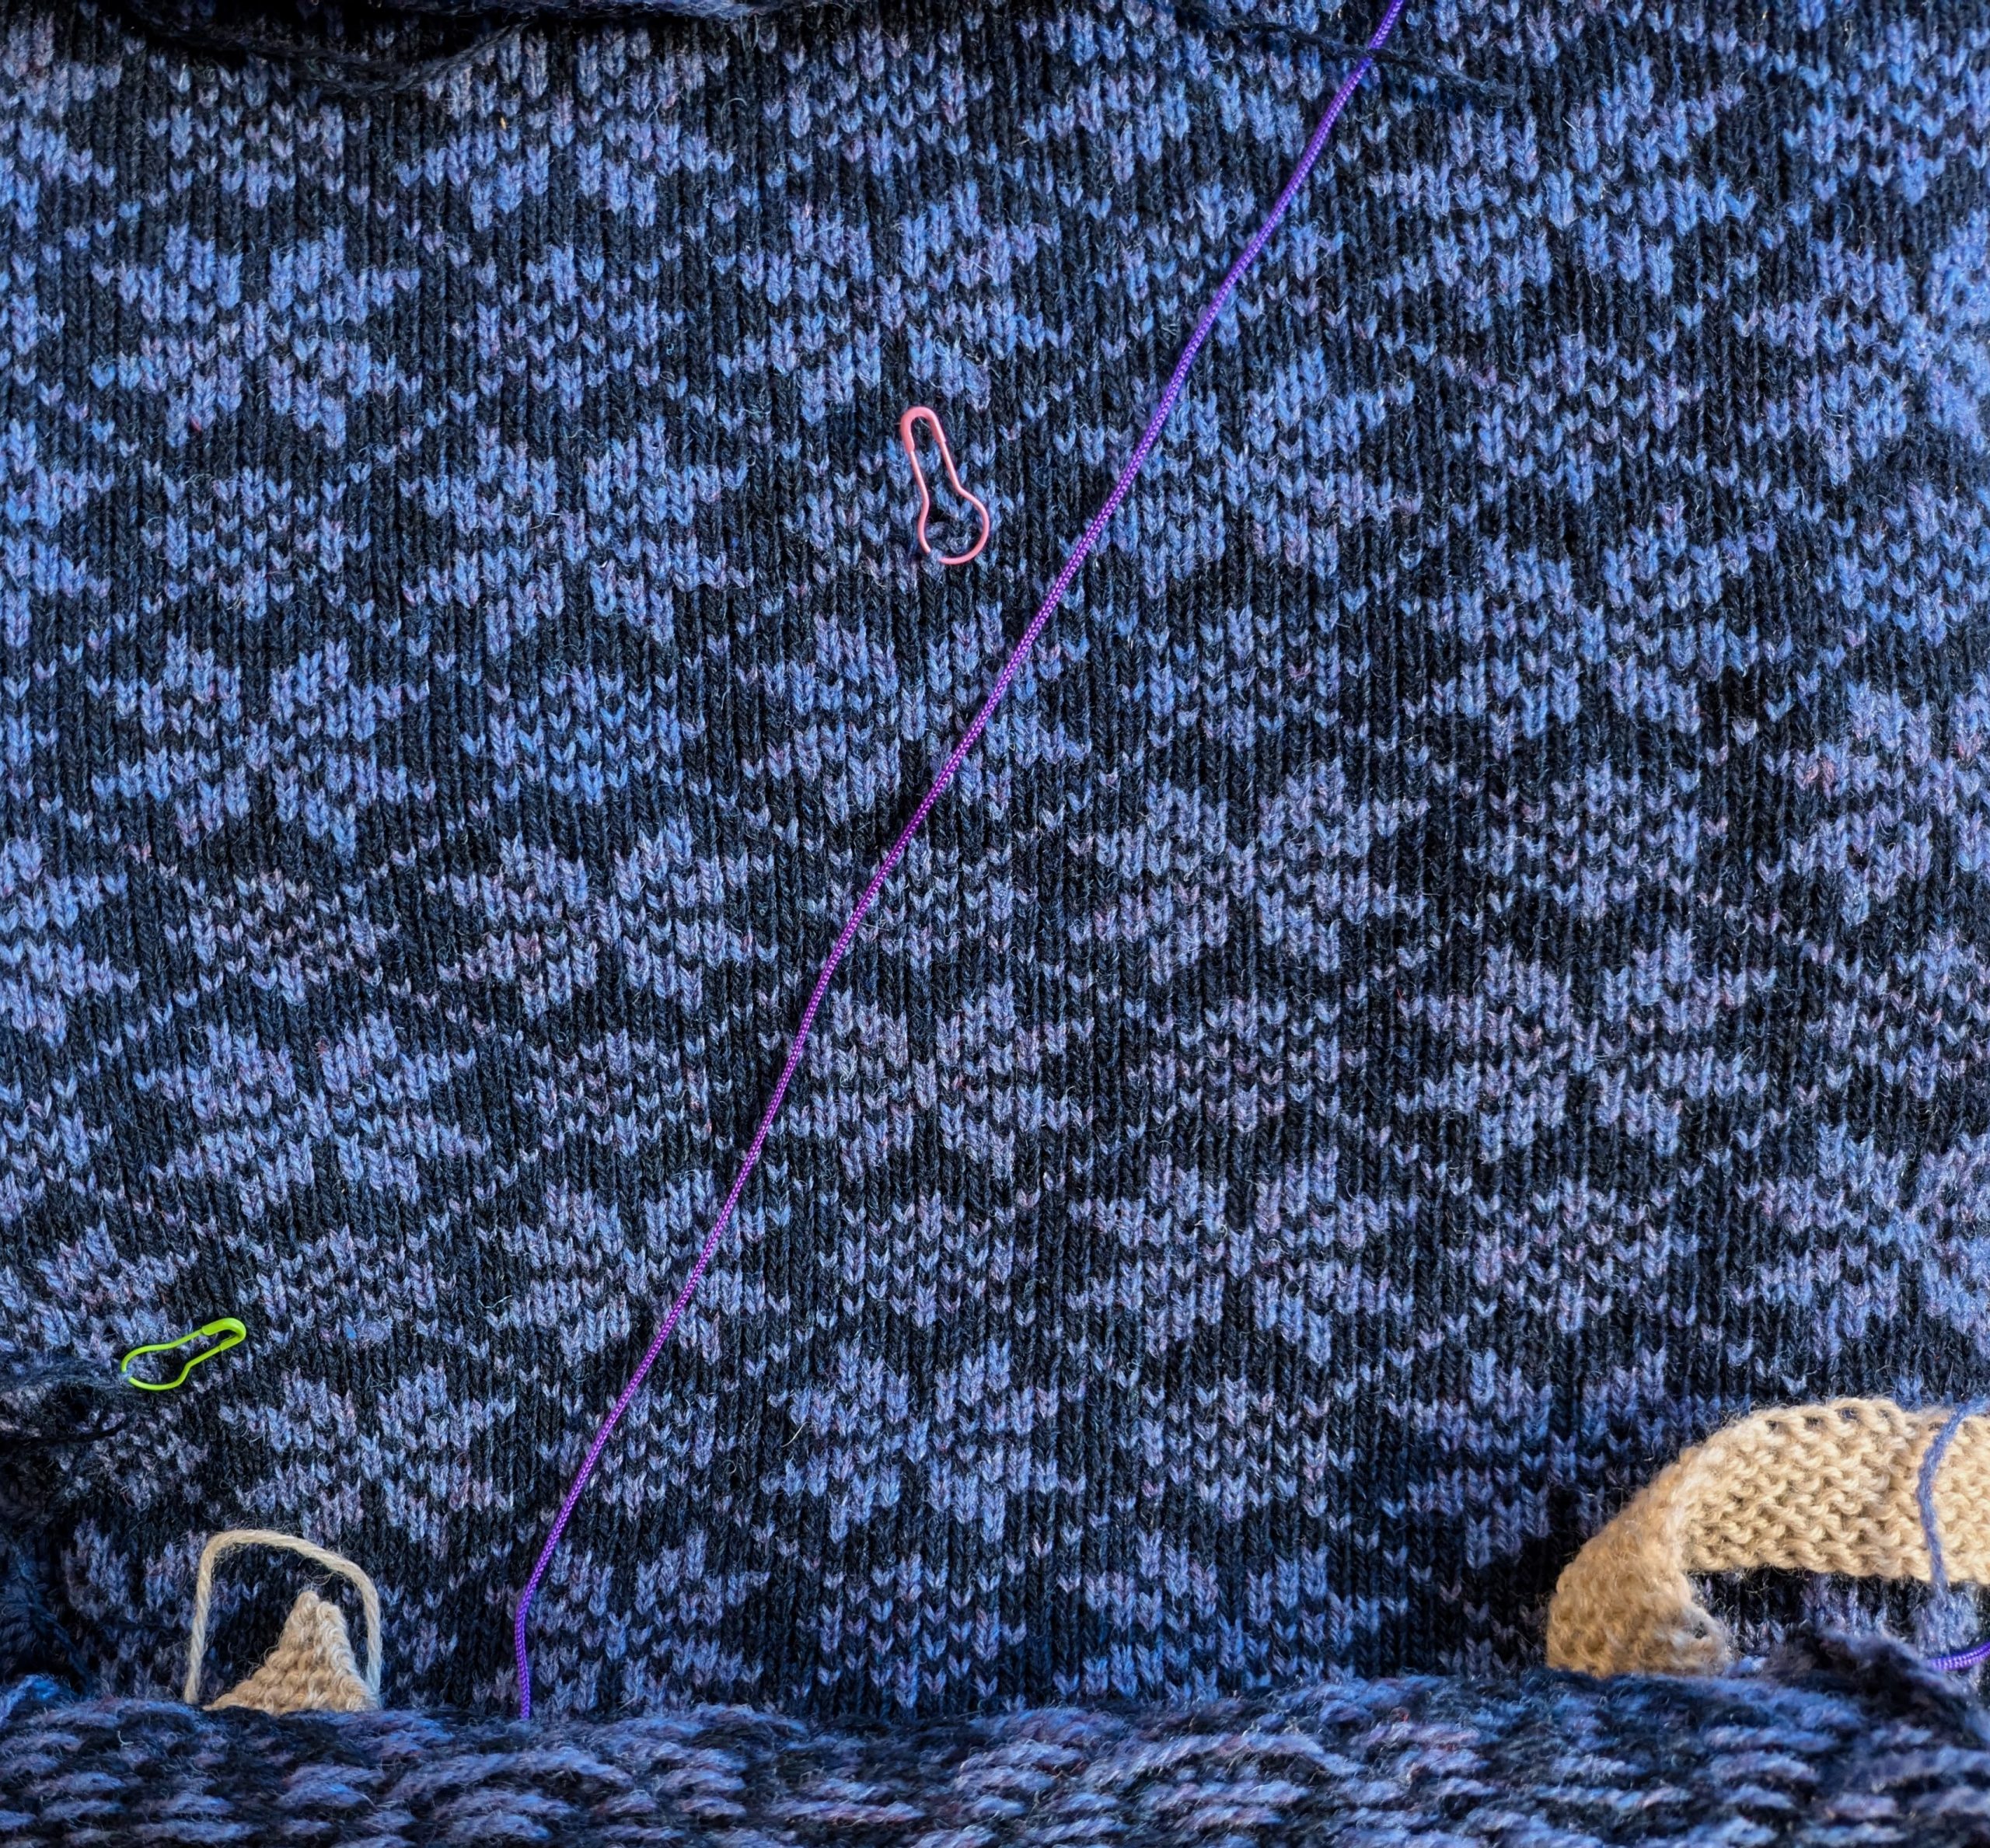
The last sweater below is Kate Davies Puffin Sweater from her Colours of Shetland book, the body and sleeves of this sweater are knitted on the LK150 and the ribbing and the yoke are knitted by hand. The yarns are Harrisville Shetland in Midnight for the main colour and Loden, which is a dark blue/green spruce colour, plus several shades of Jamieson & Smith’s 2 ply Jumper Weight Yarn for the yoke.