Journal

Knitting Machines and Hybrid Knitting

Knitting Machines and Hybrid Knitting


I was 7 when I first learned to hand knit and about 9, or 10 when Mum taught me the basics of machine knitting on her Brother machines, first the KH840, then later the KH910, though at that time she did the casting on and off and the more complex things and I knitted under her supervision and made and designed punch cards and pattern mylars. We made a sweater inspired by a Mondrian painting for the Scottish actor Russell Hunter, though sadly I don’t think we have a photo of it. 🙁 When I bought my Silver Reed LK150 just over a year ago I was happily surprised at just how much of that information came back to me and Mum has also started to enjoy using her machine more again recently, so it has been great to share what we are working on.

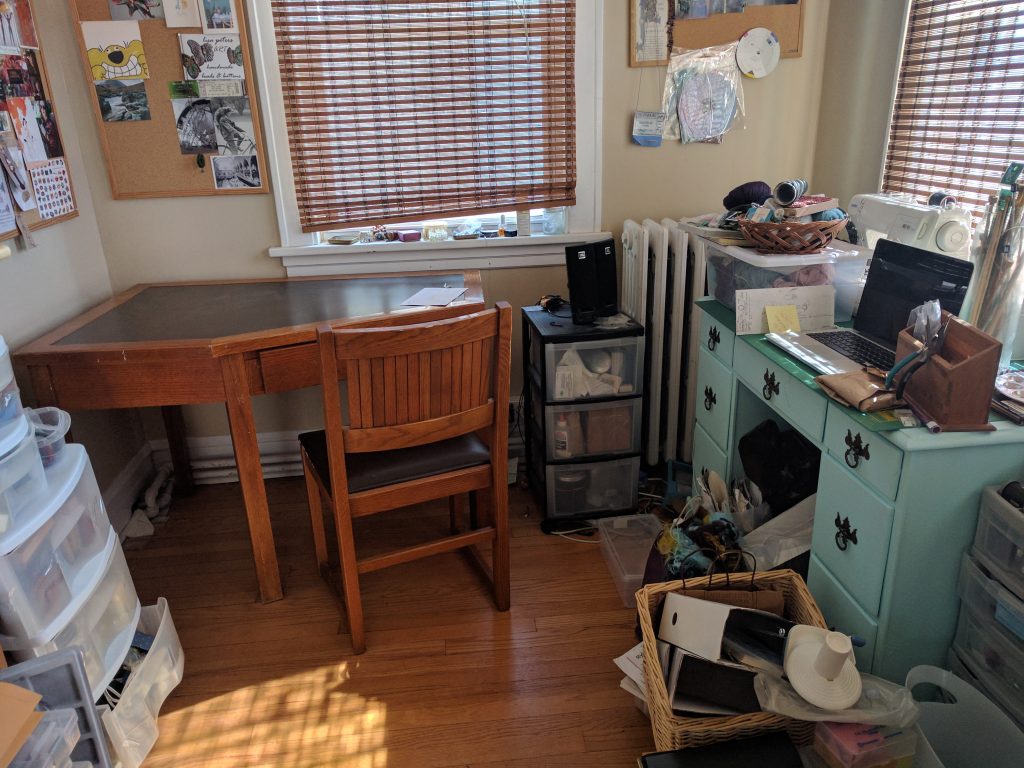
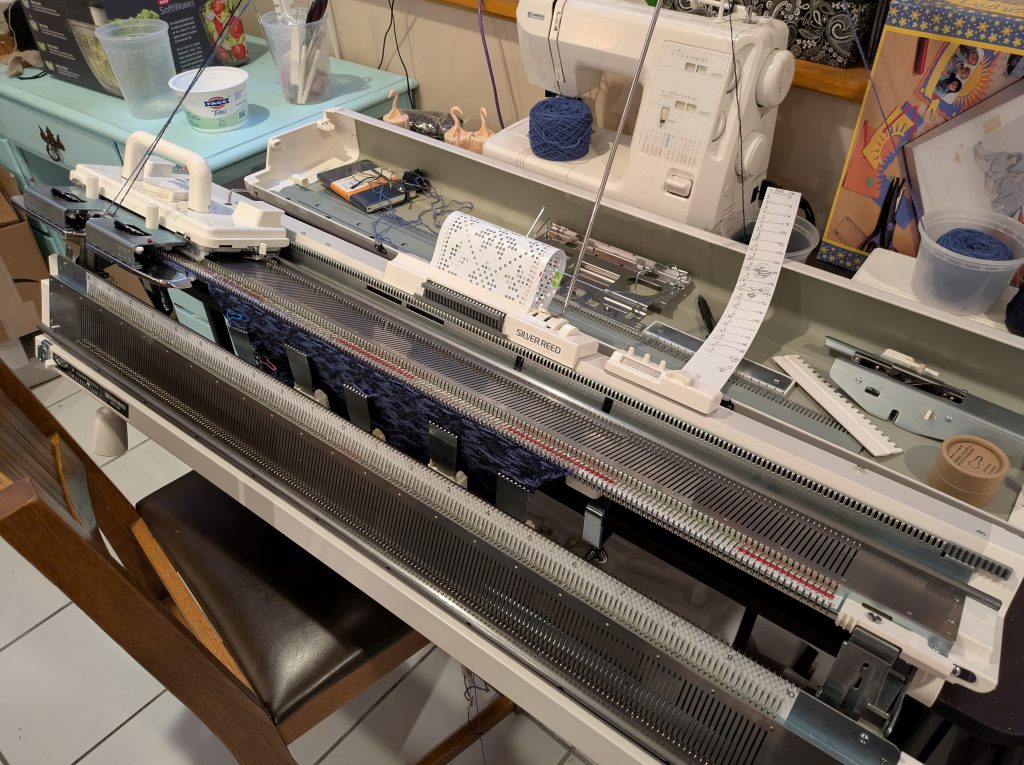
Just before Christmas I finally had enough money saved up to purchase another Silver Reed machine, this time the more complex SK280 punch card machine and I have made room for both of them in the studio area at the back of the kitchen. The rigid heddle loom that was in that space has been moved through to our bedroom, along with two older bookshelves and two new taller bookshelves have been installed in the living room for my books and materials – I am so glad to have everything tidied away and off the floor, it is much easier to find things now.

I have had issues with the tendons in my thumbs and the top joints of my index and middle fingers, it is a hereditary condition. I have been trying to be careful with my hands, switching to Continental knitting around 2011 in order to balance out the amount of work done by each hand. I also tend to only hand knit around 4-6 rows/rounds on a project in one session and then give myself a break for a while, even if I have the time, I won’t knit all day long like I would have done in my 30’s.

I’m experimenting with using the machines in conjunction with hand knitting, I will still enjoy hand knitting, but I will mostly knit things that are either knitted in the round, or with the more complex textures and techniques that I enjoy, but that are harder to replicate on the machine, like cables, Estonian and Shetland lace, plus garter and moss stitch which would require lots of hand manipulation, so much so that you are often better just to pick up those stitches and work them by hand. It takes a bit of sampling to match the knitting machine gauge to that of the hand knitting, but I don’t mind that too much, I just need to make sure I have enough yarn for that sampling process.

The other thing that comes with knitting flat on the machine is sewing up.The machine has made me better at finishing my projects,I fear sewing up far less than I did before,working on smaller projects with each machine to start with has made me feel more at home with mattress stitch. I still don’t enjoy sewing buttons on, picking them out is far more fun!

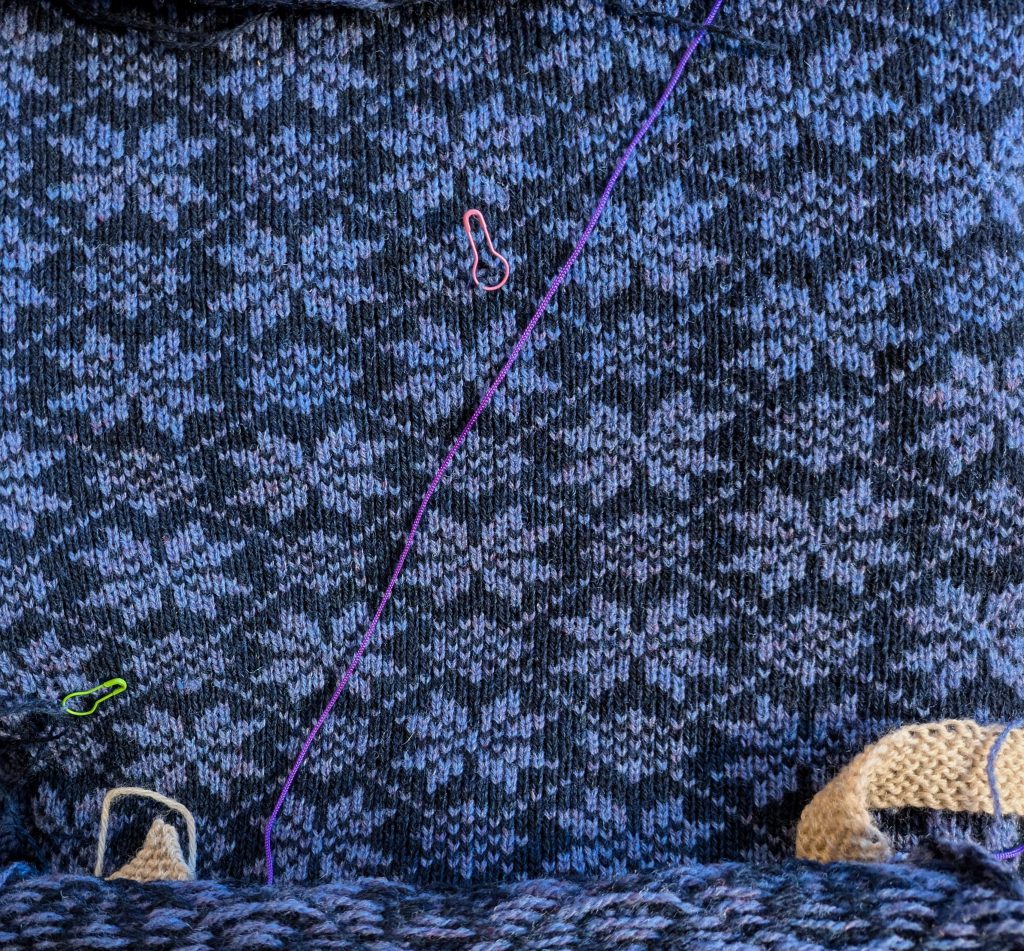
I’m going to add machine knitting explorations to the blog. The photos I have included of finished sweaters are ones knitted on the LK 150 so far and the two sleeves for my current project on the Sk280. This will be a cardigan,the base pattern is an Alison Dupernex pattern from her book Creative Machine Knitting and I am using one of the basic punch cards that came with my machine. I’m trying to decide on if I want a fully patterned cardigan, or just the sleeves. I’m hand knitting the garter stitch cuff of the second sleeve at the moment. The waistband and the button bands are also garter stitch. If the body is to be fully patterned I may need more of the contrasting colour, so for this one I may just make the contrasting sleeves and a plain body, to get the feel of the technique before I make anything else. I need to work out a different way to do the increases in pattern to avoid dropped stitches on the edges.There were a few of them, but I was able to sort them out with a crochet hook and a tapestry needle.
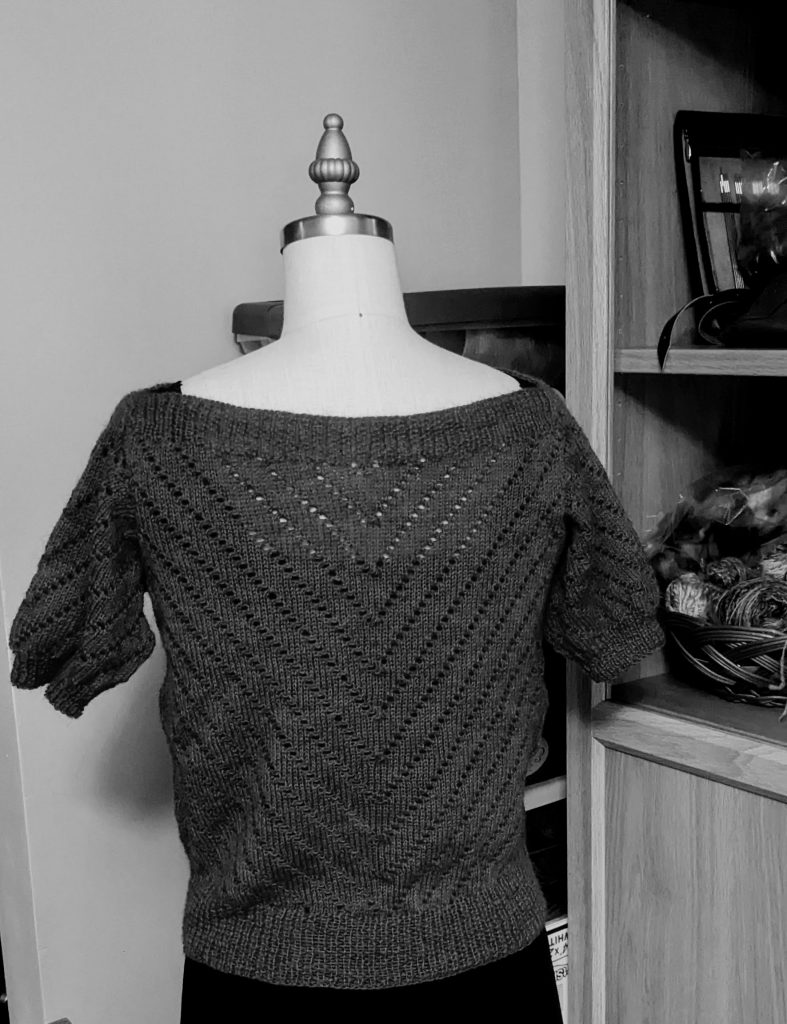

This lace sweater above is Susan Crawford’s Jan sweater from her book A Stitch In Time Volume 2. I have a previous edition, she recently updated the series to have a larger range of sizes. The one thing I accidentally changed was the number of rows between lace rows, on mine the lace is hand manipulated every 2nd row, but on Susan’s it is every 4th, but either way it works beautifully. Mine is made with Jaggerspun 2/8 Heathers in Hollyberry – a gorgeous bright red that refuses to be photographed properly. Sadly Jaggerspun are closing, their yarns are lovely to work with if you can find them.
https://susancrawfordvintage.com/products/a-stitch-in-time-volume-2-revisited
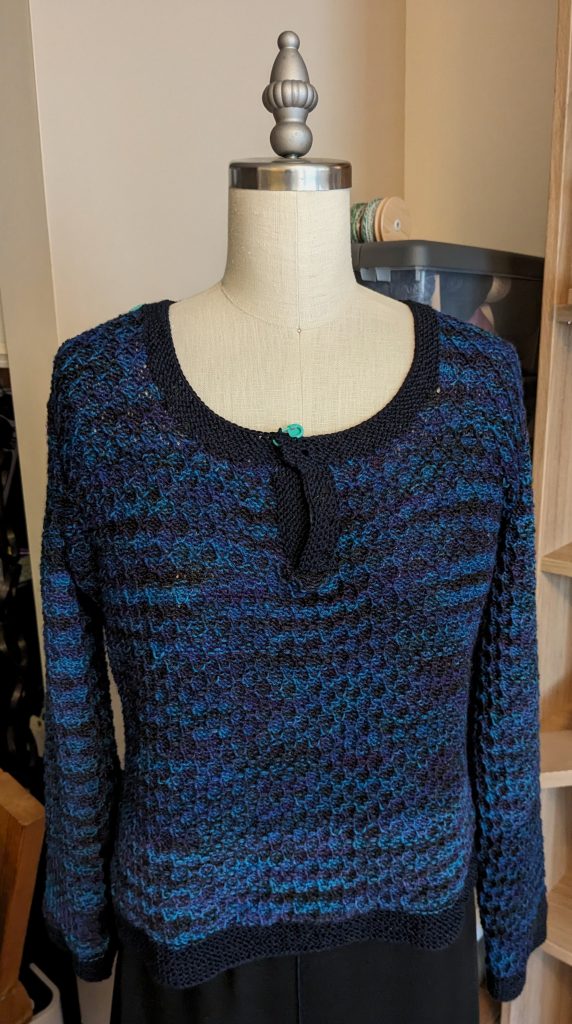
This one is my own design based on my measurements, so no pattern, but I used a basic tuck stitch pattern on the LK 150, this would probably have been easier to do on the SK280, as I could have used a punch card, but I enjoy the rhythm of working tuck stitch on the LK 150.

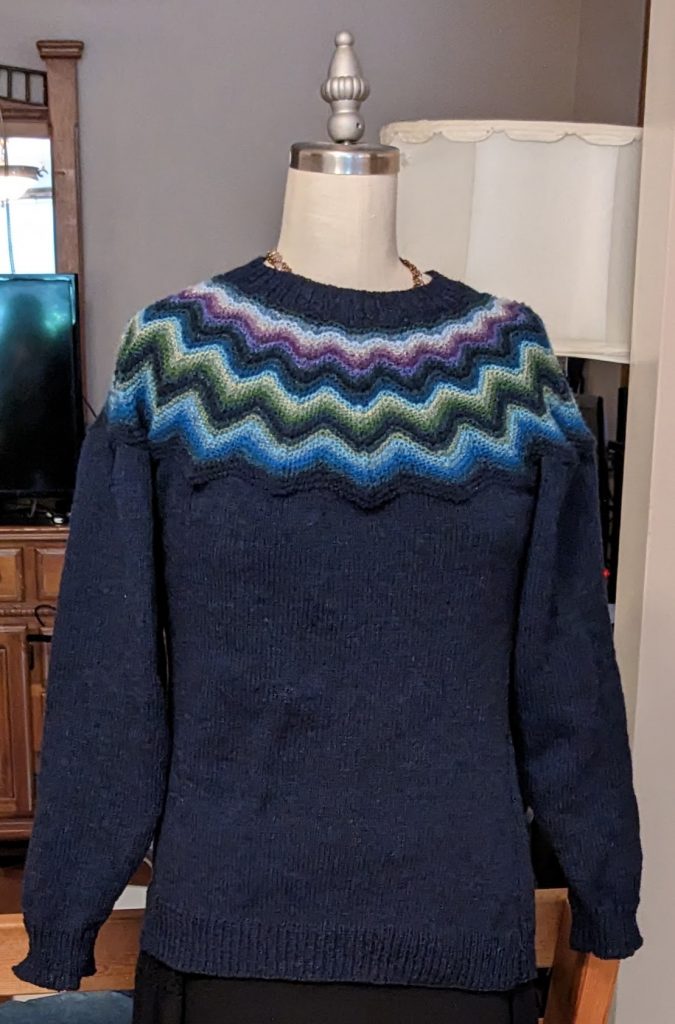
The last sweater below is Kate Davies Puffin Sweater from her Colours of Shetland book, the body and sleeves of this sweater are knitted on the LK150 and the ribbing and the yoke are knitted by hand. The yarns are Harrisville Shetland in Midnight for the main colour and Loden, which is a dark blue/green spruce colour, plus several shades of Jamieson & Smith’s 2 ply Jumper Weight Yarn for the yoke.
All Or Nothing…

Modified Cruden Vest

Ever waited ages for a bus and three arrive at once? Well that is sort of what happened with my knitting projects! For the last couple of years I have been trying to complete some of my UFOs, only allowing myself a new cast on if I need something for travelling that can be worked on in between other things.

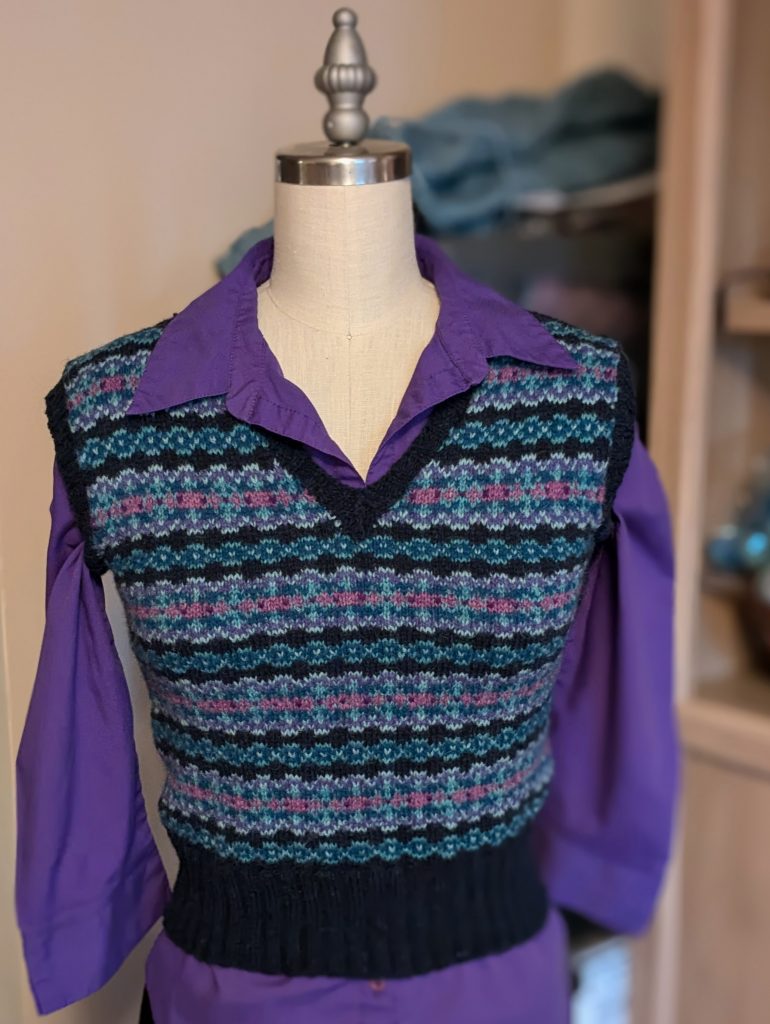
The vest is a very modified version of Ysolda Teague’s Cruden design, the numbers for the cast on and the motifs used are pretty much the same, however I changed the original scoop neck into a v neck, which works better on me and I made the ribbing a bit deeper to give me a neater, more late 1960’s/early 1970’s fit, similar to the one in the photo of Steve Marriott of the Small Faces, photographed by Andrew Maclear (not Gered Mankowitz, as I originally thought) that was the inspiration for the vest. The vest isn’t a recreation of Steve’s vest, the photo is a bit too dark and indistinct to do that, but I loved the cropped proportions and the dark background with brighter motifs and wanted something with a similar feel.


I cast the vest on in the summer of 2018, but it sat in a bag knitted up to the second set of wider motifs for a couple of years,then I knitted it up to the underarms in April this year, then finally I dug it out about a month ago and just finished it off! I knitted the upper body flat and in sections and used a 3 needle bind off on the shoulders, as the fit is quite close and I wasn’t 100% sure it would fit, so I wanted to be able unravel it and reknit it, if it was a bit tight around the bust, which I wouldn’t have been able to do if it was steeked. Now I know how many stitches I need for a similar garment in Fair Isle, I can maybe try steeking another time, but I also like that the edges are fully finished by knitting it this way.

For anyone interested in the colours used in this project, I used Harrisville Shetland in Midnight as the main colour for the background and ribbing and the rest of the colours were all Jamieson & Smith’s 2 ply Jumper Weight yarn in the following colours:

FC41, FC37, FC34, 123 mix, 20 and 14.

Lightweight Hipster Shawl

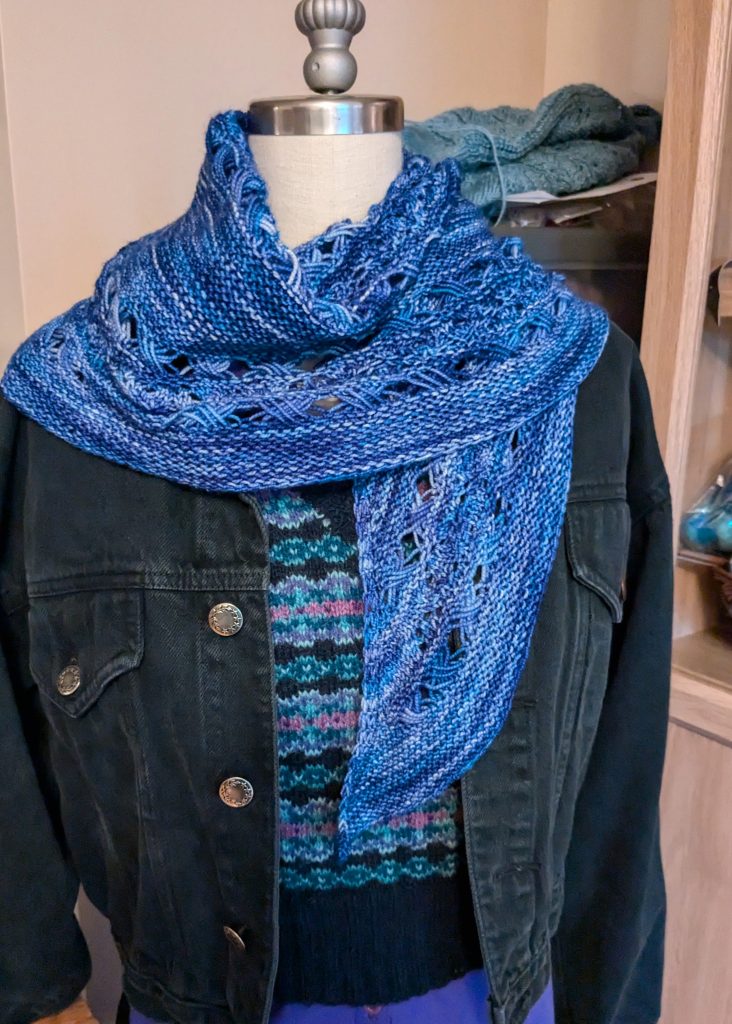
The first scarf is Joji Locatelli’s Lightweight Hipster shawl, knitted in a lovely merino fingering weight yarn that was hand dyed by Sarah at Another Crafty Girl – this was deep stash from about 2013, I had thought a while ago about making socks with it, but I think this was a far better way to use it. The shawl was written for a similar base and I was able to use every last scrap, the original has fringe, but I’m not sure I have enough to add it and I quite like the edge without it. I’m not sure if Sarah still dyes yarn, or not, but this was lovely to use, the colour is called Blueberry, but it is more of a soft cobalt blue.

https://www.jojiknits.com/product-page/lightweight-hipster

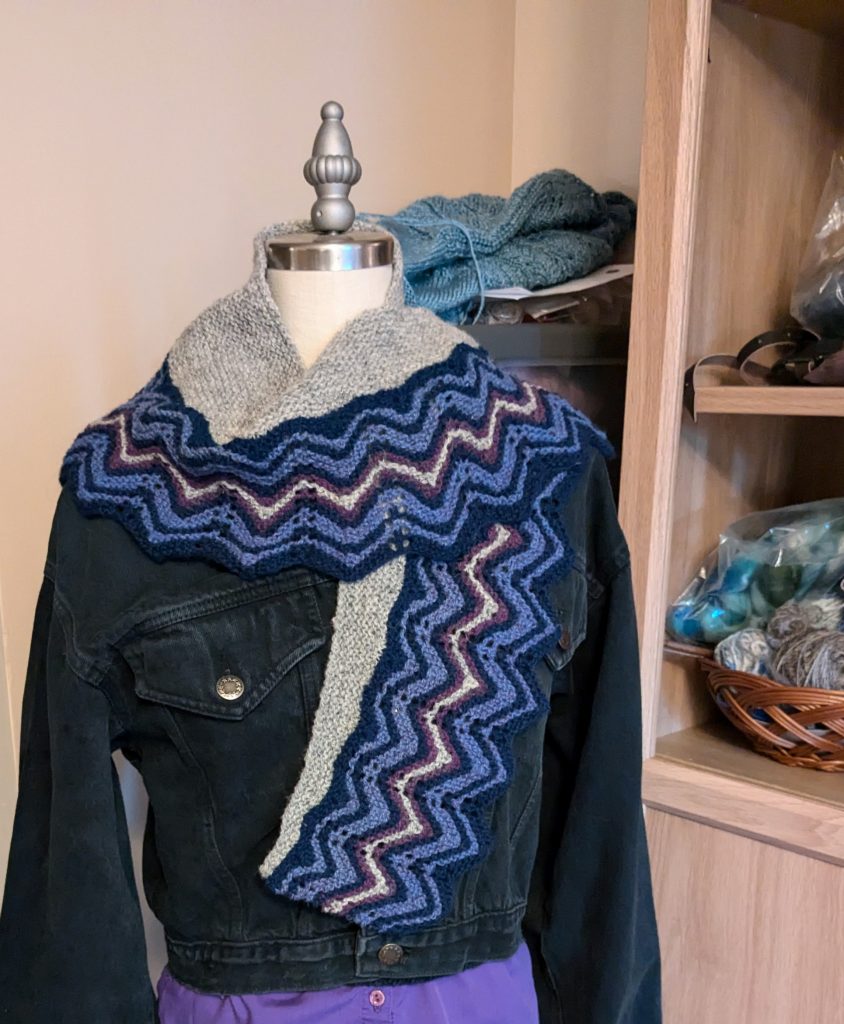
The second scarf is Gudrun Johnston’s Tarra, from the 3rd book in her Shetland Trader series. I also used Jamieson & Smith’s 2 ply Jumper Weight in this project. I used colours 203, FC37, 21 and FC56.

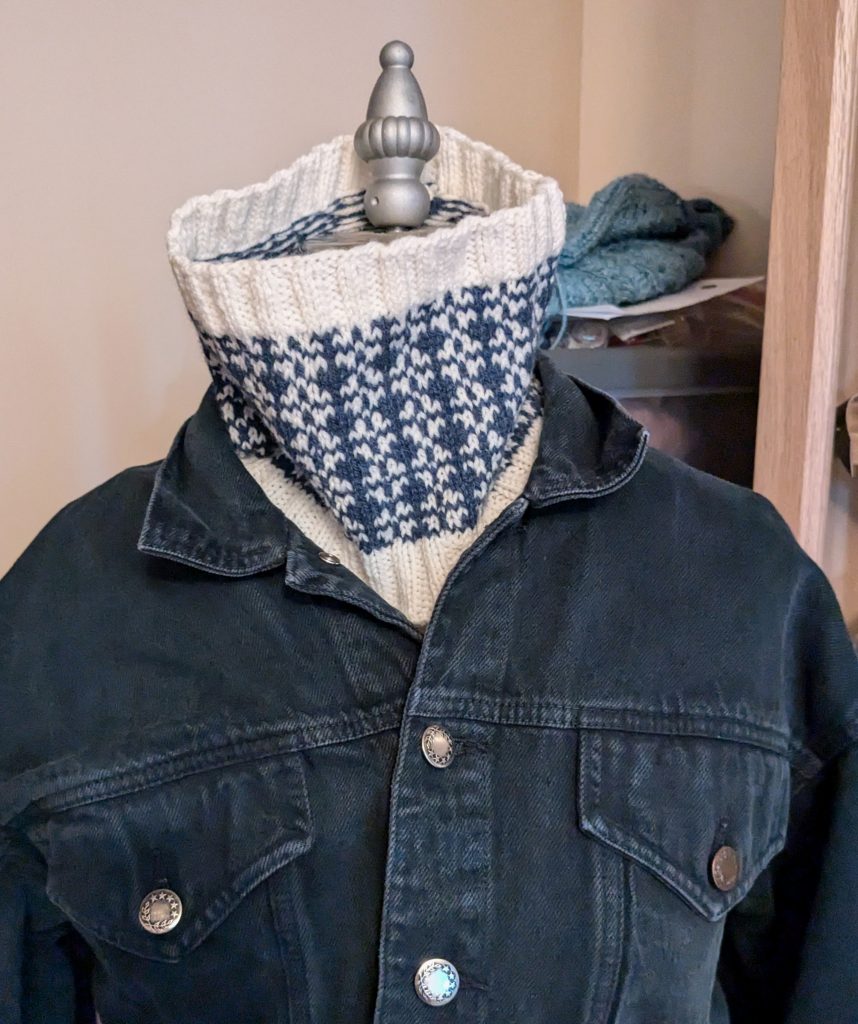
The cowl is the Torshavn cowl by Susan Crawford, I used Sunday Knits Nirvana 3 ply in Ocean and Brown Sheep Naturespun Sport in shade 730S/Natural. The Brown Sheep yarn is slightly thicker than the Nirvana, but both yarns are super soft against the skin and lovely to use. I only had a 20g mini skein of the Nirvana, so I left off the narrow contrast edging on the cowl, but in the end I think I could have done it, maybe next time! If you want to try a colour work project for the first time, this would be a lovely one, it is only two colours and the floats are small – it would be perfect with handspun yarn, either fingering/sport weight too! 🙂 I have linked to the Blodini cowl, which uses the same basic stitch pattern, I think I originally purchased the pattern on Ravelry, however as I can only spend a short amount of time on ravelry, due to migraines, I prefer to share a link to Susan’s blog.

Tarra

Torshavn

Link to inspiration photo of Steve Marriott:

https://www.pinterest.com/pin/479914904058947763/

Twist and turn as you walk and learn…

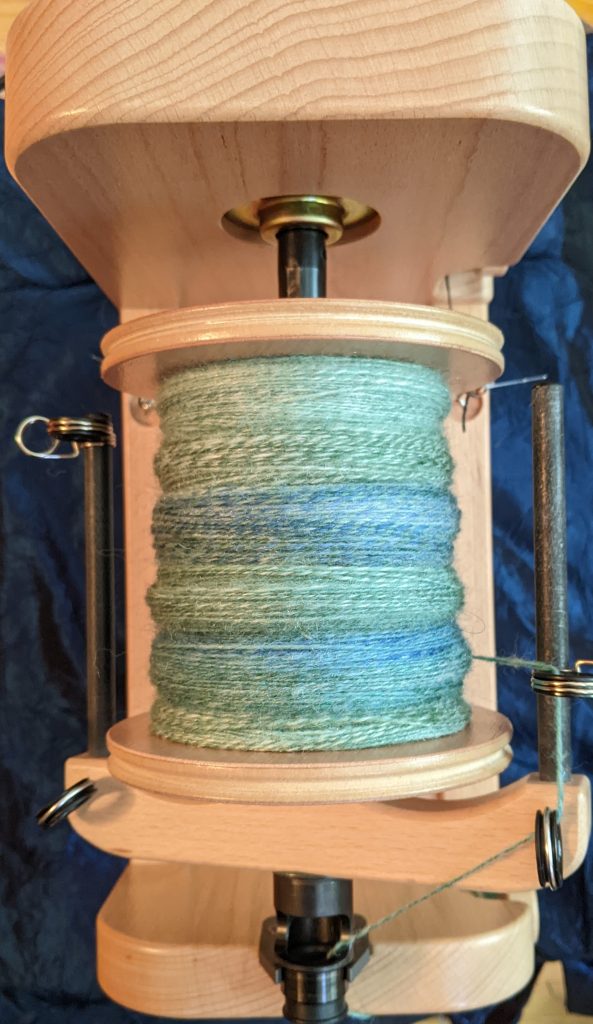
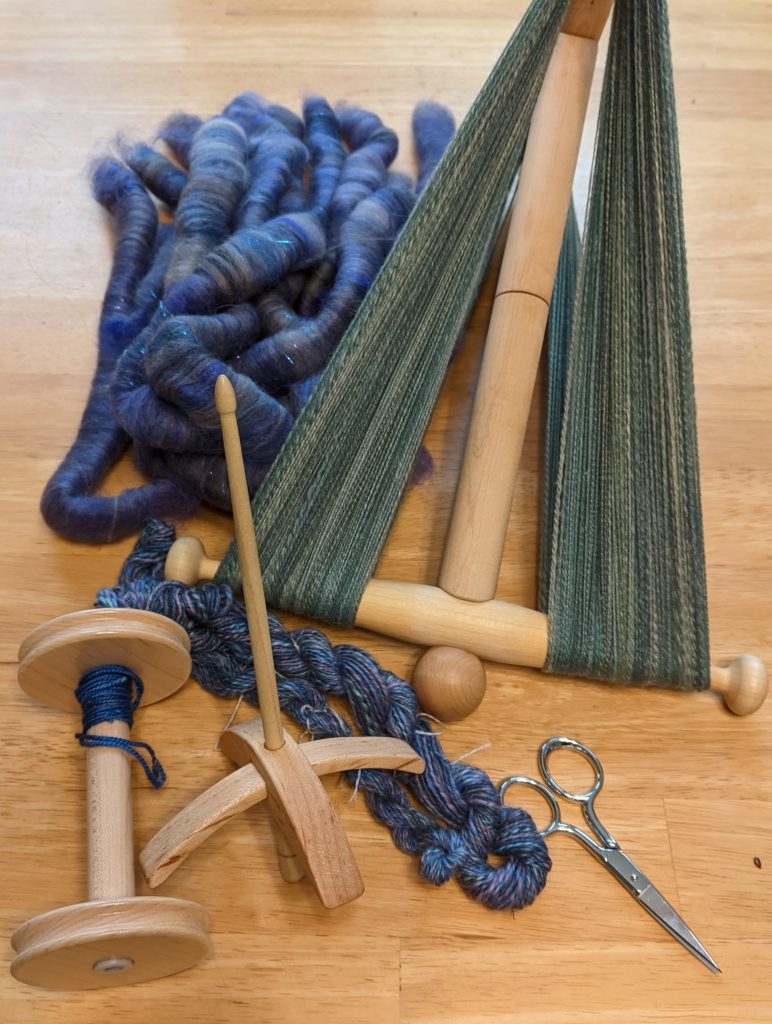
Ashford e-spinner with hand dyed merino/nylon singles.

This year I decided to put both my Christmas and Birthday money, from my family, plus some savings, into buying an Ashford e-spinner 3. I finally had enough money to purchase one in June and ordered it from Halcyon Yarns, who are based in Maine. It was back ordered and originally it would have been due to arrive in August, but Halcyon were able to keep it for me until we arrived back from visiting family in the UK during August. Their customer service was excellent!

I decided not to do any kind of unboxing and I wanted to spend time trying out a few things and getting used to it before I wrote anything about it. There are some wonderful videos out there by Angela aka Rainbow Ange at Yarn ‘n’ yarns, Rachel Smith at Welford Purls and Felicia Lo Wong at Sweet Georgia, all three videos were very helpful to me when I was setting up my e-spinner. I will post the links to these videos at the bottom of the page. The title for today’s post comes from Deacon Blue’s song Love’s Great Fears.

Felicia and Rachel both talk about their experiences with both the Ashford e-spinner and a few of the other e-spinners that are currently on the market. I found that my initial experiences with the e-spinner were very similar to those experienced by Angela in her video. The e-spinner had quite a strong uptake and I needed to reduce the uptake and to cross lace the flyer in order to spin a fine single that wouldn’t either drift apart, or be pulled apart by the e-spinner!

I have only used the e-spinner for a short time so far, but I like it for plying and for spinning smooth, worsted yarns. For spinning woolen yarns from rolags and long draw, I prefer to use my Lendrum, which has a gentler uptake and I have the ability to gradually slow down using the treadles while manipulating the singles with both hands if needed. I think both wheels will work together well as a team and I like to have the ability to have different types of projects on each wheel at the same time.

I had the advantage of experience of both spindle spinning and treadle wheel spinning before buying my e-spinner and that helped me when I was getting started with the e-spinner. I think there would probably be a steeper learning curve if using an e-spinner was your first spinning experience, spindle spinning teaches you to be able to draft and gives you time to study your yarn to see how much twist you need and you can easily take out any extra twist too. The Lendrum introduced me to the effects of changing the uptake, tension, speed and to using different whorls to create different yarns, however don’t let that put you off trying an e-spinner out if you can, they can be a very accessible way to spin, especially if space is limited, or you find spinning on a conventional wheel, or spindle is painful, or uncomfortable.

Take the long way round

One of the things I like about social media is that there are many different ways to share information about various crafts out there now, that just did not exist even 10 years ago. I feel like even though I have been making things for a long time, that there is always something new to learn, however I also feel that I still use a lot of trial and error when making things as well and some people don’t always share that part of the process, they just prefer to skip that and not show the effort involved, or how to correct mistakes, which can be disheartening, especially to someone new to the craft. This is where forums come in and blogs, I still love knitting blogs, even though they are not always updated now.

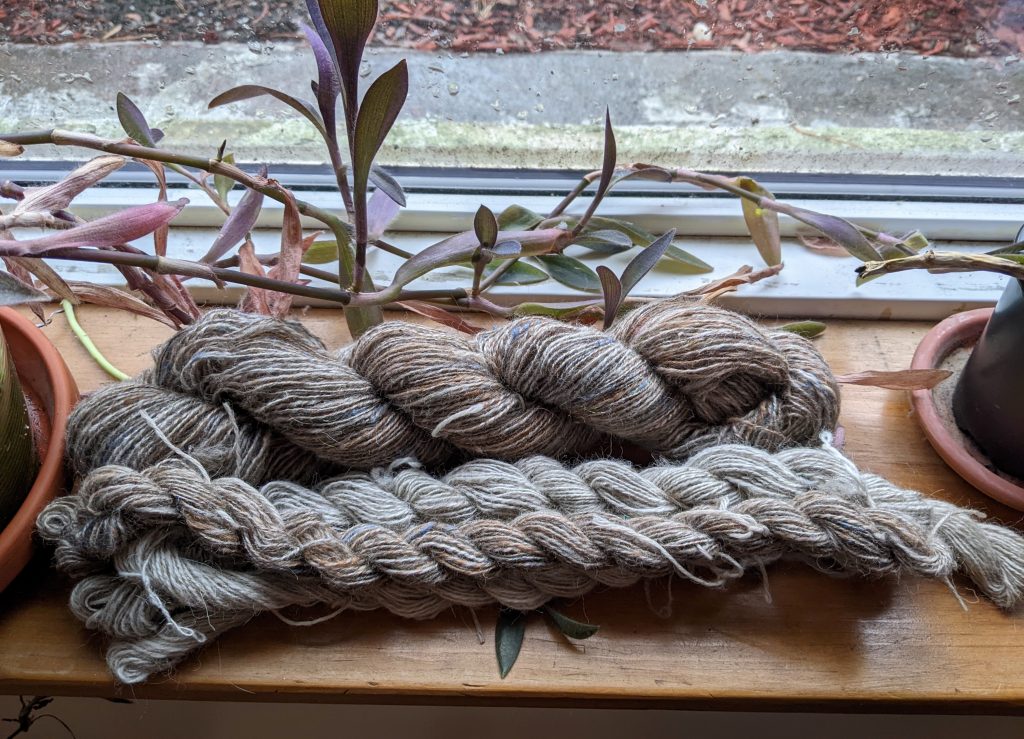
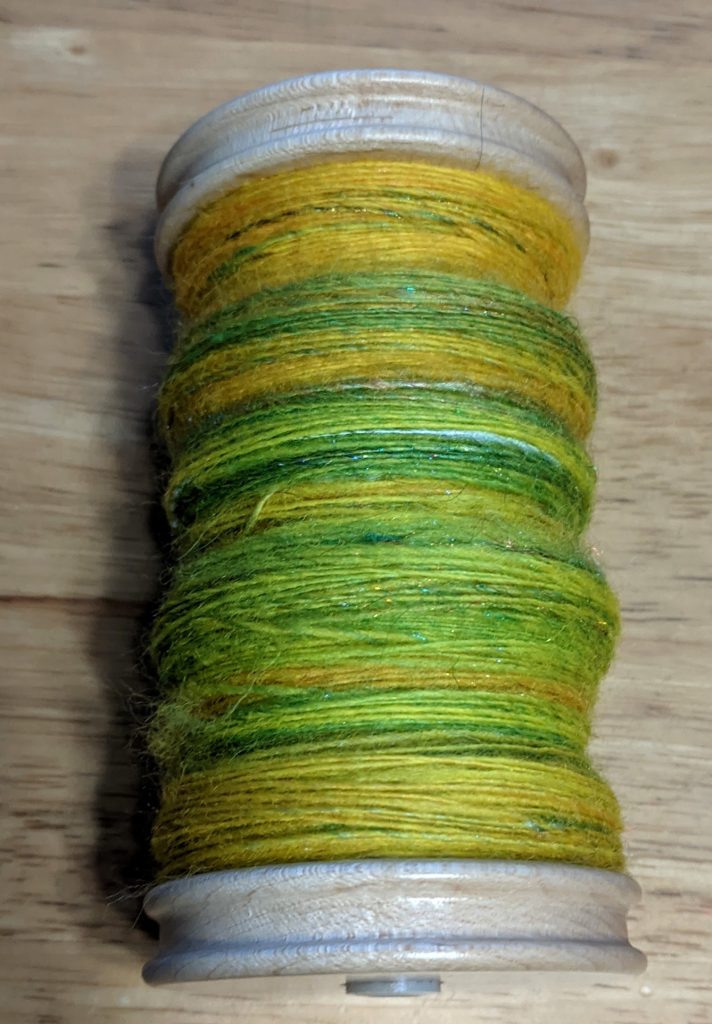
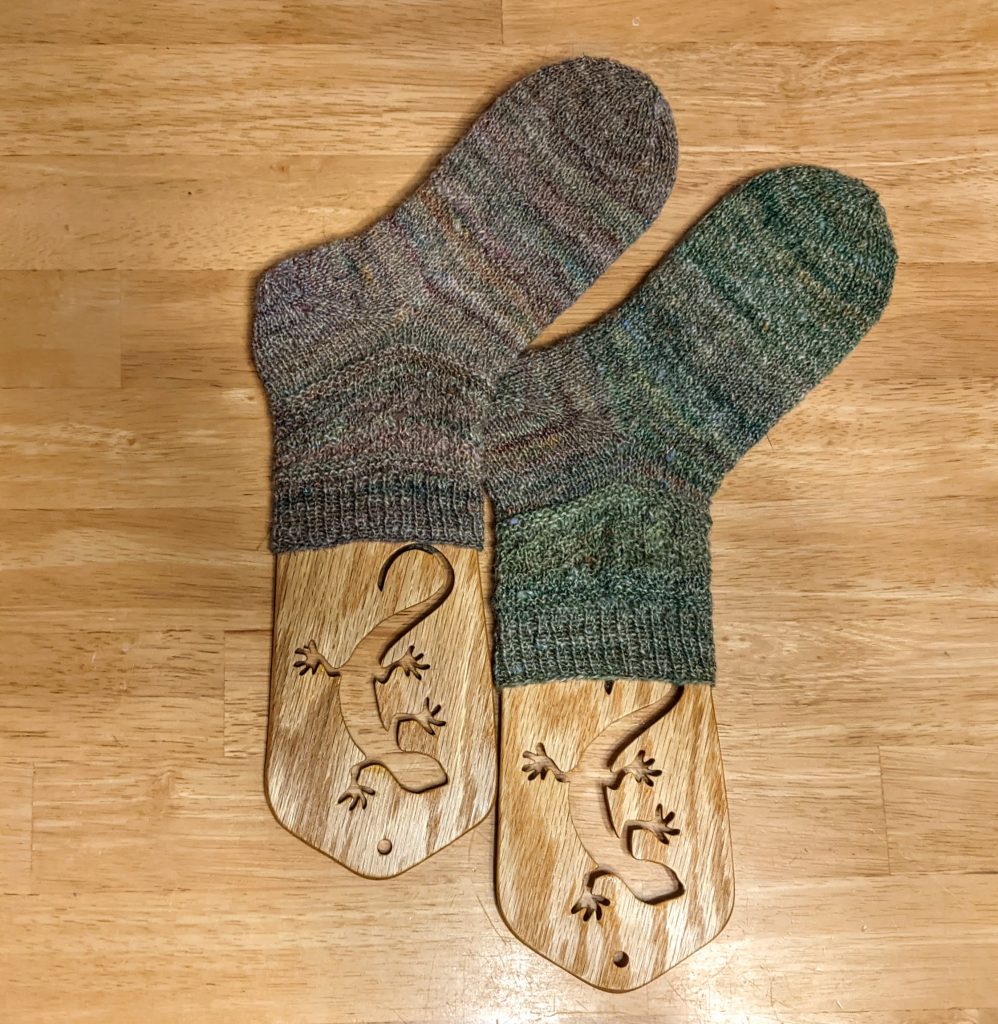
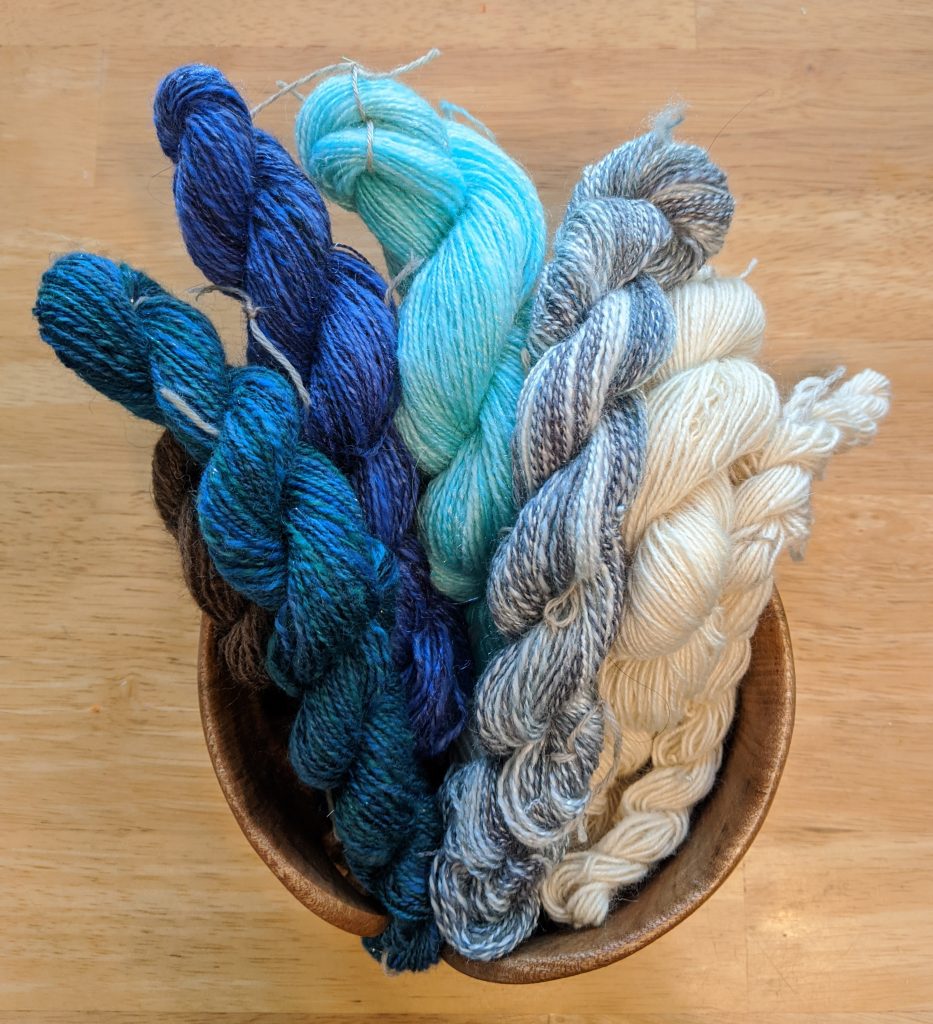
Visual representations like charts, diagrams and photos help me the most, followed by videos, or someone showing me how to do something. Others prefer detailed written instructions. As far as patterns are concerned, I like to have both types of information available, just so I can double check just to make sure. I’m teaching myself how to knit toe up socks just now, so that I can get to the point where I can either knit a basic pair of socks either way up without a pattern, or looking down at my knitting as often, this year is about improving the way my knitting flows. I want to be able to make things that fit based on my own measurements, or to customise patterns to fit in the same way that I have done with some of my sewing projects. I have also just finished spinning up some BFL/Yak/Alpaca/Camel/Silk blends, possibly for a cowl, or a shawl, once they are dry, I can do some sampling to decide what lace patterns I want to use. This photo was taken after plying, but before washing the skeins.

Over the years I have changed the way I knit quite a lot, for many reasons, firstly to improve tension. I used to knit very tightly, I had a death grip on my yarn sometimes which made for wonky stitches, as the yarn got stretched out. Secondly to make it more comfortable to knit for longer periods, I learned to switch over to my left hand. I write and draw mostly with my right, so now I feel like my hands are more evenly balanced. I haven’t really shown that anywhere, but I think that is because I’m wary about doing so, I know my knitting and purling looks odd when people see it and I have seen some odd reactions to it, which is one of the reasons why I think I have been reluctant to video it, but I know it is something that is more comfortable for me long term. My knitting and purling look very similar, the main difference is in the way that the needle goes into the stitch, when I knit the needle goes under the right leg of the V from front to back and to purl the needle goes under the right leg of the V from behind to the front and the yarn is wrapped over the front of the needle to the back for both knit and purl, if that make sense.

I think I’m more of a process knitter, I do want the finished object eventually, but it is more about the time spent enjoying what I’m working on and learning the skills along the way, to make what I want look the way I would like it to. I often have to alter patterns, so over the next few years I feel like I want to explore more resources for adjusting the ones I have and for writing a few things for myself from scratch. I have thought about writing up a few ideas, but I know I prefer to make things rather than promote them, I don’t enjoy that bit! It is a long term goal along with spinning some yarns to go with them and recording that process/progress as well. I love seeing everyone’s Make Nine’s on Instagram, there are so many gorgeous items made every year, but I know that planning everything that far in advance doesn’t always work for me. What kinds of knitting websites do you enjoy and what kinds of instructions work for you?


Cold Feet and Warm Socks for Spinning.

I decided that if we were facing Winter potentially in lockdown that I would work on tidying up my studio and the area in the dining room where my loom and spinning wheel live. I’m still at that awful stage where things look worse before they get better, but I will post a couple of photos when they look more presentable!

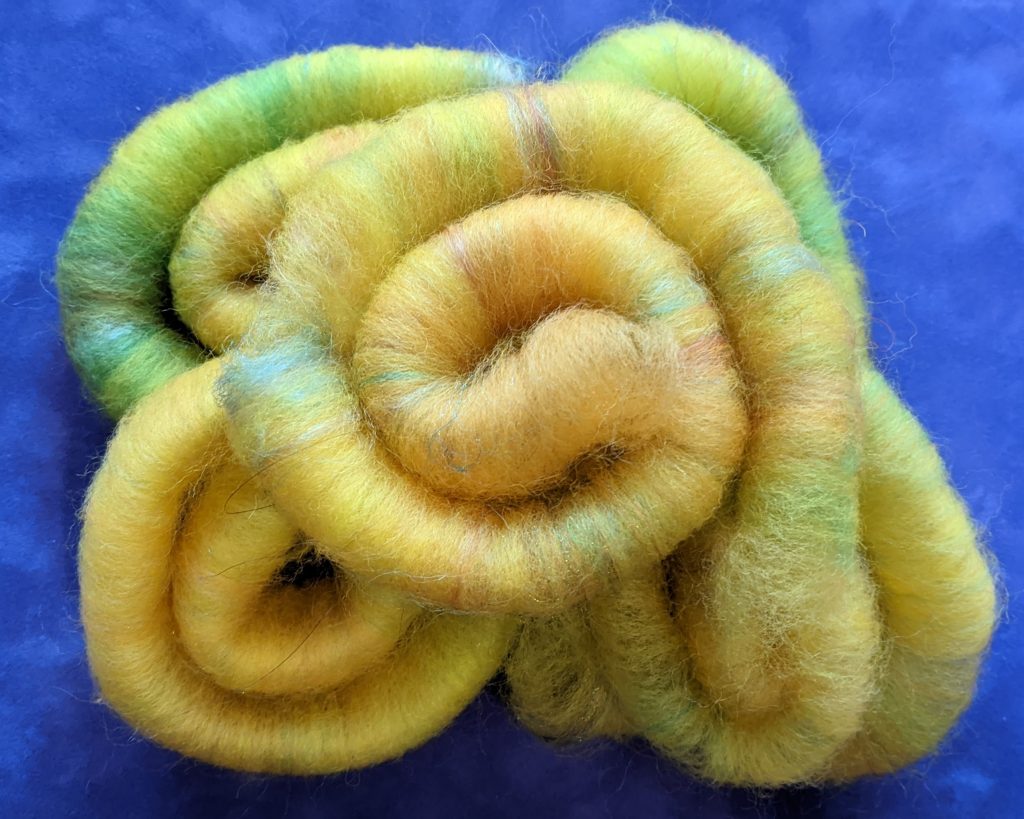
I’m also trying to finish both some knitting and spinning UFOs and trying to use up some hand spun and leftover yarns, to make space for a few new books and to get some of my larger sweater quantities of fibre that I dyed up recently into bins of their own to protect them. I spun up these rolags:


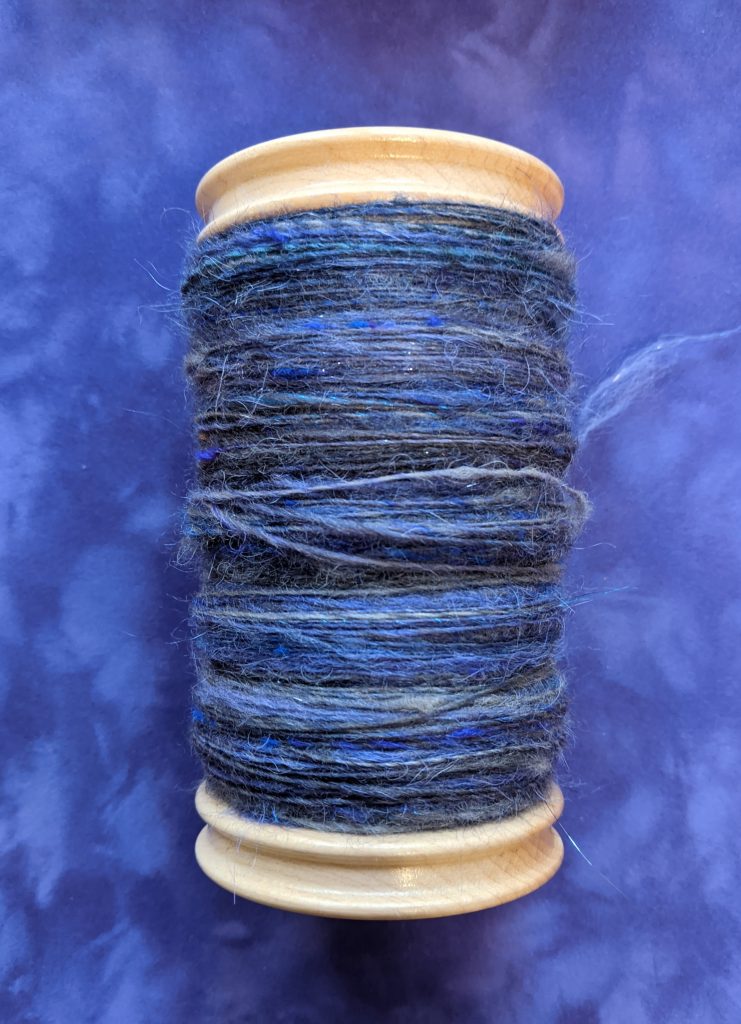
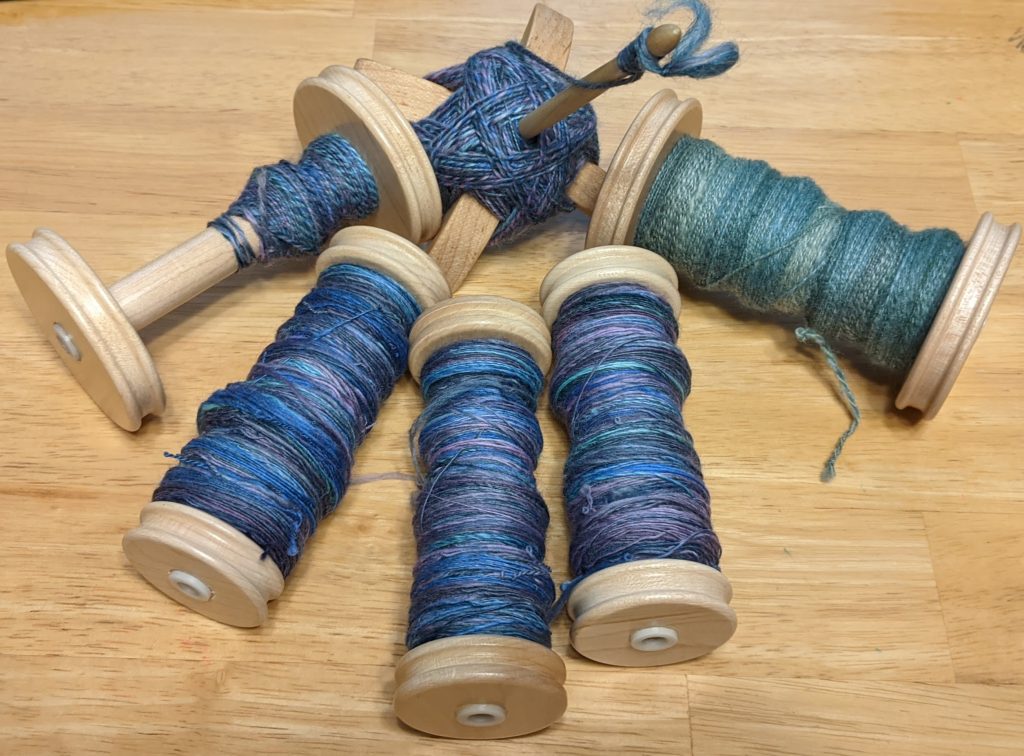
The rolags above, became these singles, which I hope to ply, maybe next week:


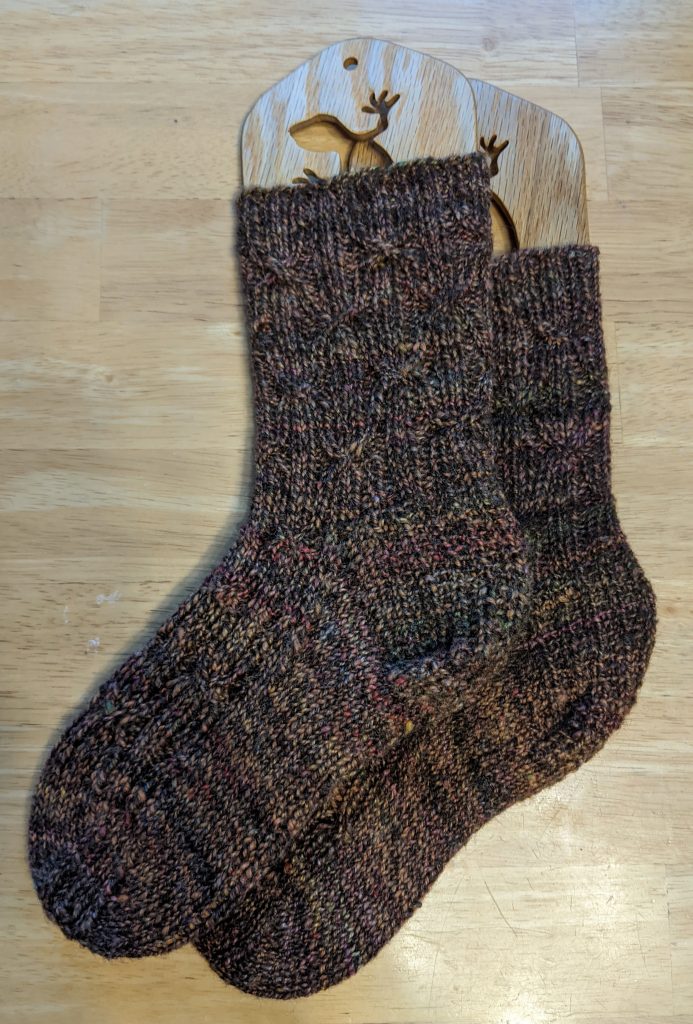
The light is atrocious right now here in Illinois, I need to look out my project light when I get everything dusted and organised! I also worked on two pairs of hand spun socks over the last couple of weeks. The are definitely rustic and a bit lumpy bumpy in places as they are relatively early stash, but I feel like socks are a useful project for these yarns. I had less than 5g left after Kitchenering the toes of the brown socks! The 1 st pair were just me trying to knit socks from memory using a simple traditional Guernsey/Gansey stitch pattern called Marriage lines – you can’t really see it because the yarn didn’t have enough stitch definition, I was also trying a forethought heel and a short row heel for the first time.


The second brown pair are the Unity pattern by Niina Tanskanen, which comes from the lovely Laine 52 Weeks of Socks book, this is my first pair from the book and I can see me making many more pairs over the next few years. I have lots of single hanks of yarn – too many, really.

Out of the Clouds

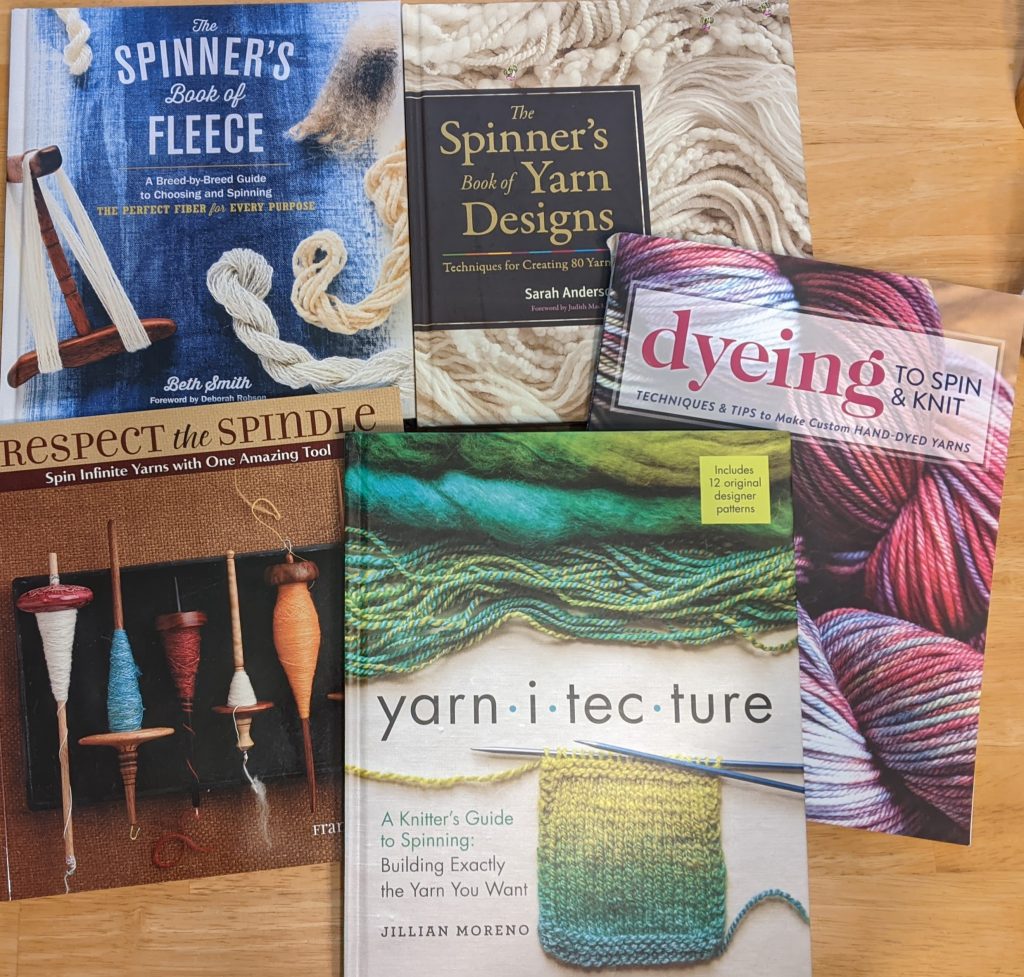
This is just a few of the spinning and knitting books I have, but probably the ones I turn to the most.

When I posted about blogging more frequently the other day on Instagram, I was chatting with Kay Johnson, who is porkupinehill10k on Instagram about books and learning resources for both new and intermediate spinners, like myself. I thought that the subject would work best as a blog post, as I could add some links to a few favourite websites and include a list of a few favourite books. Instagram doesn’t allow for links and works best for shorter messages.

  1. Respect The Spindle by Abby Franquemont
  2. Dyeing To Spin and Knit – Techniques & Tips to Make Custom Hand Dyed Yarns by Felicia Lo Wong
  3. Yarn.i.tec.ture by Jillian Moreno
  4. The Spinners Book of Yarn Designs by Sarah Anderson
  5. The Spinners Book of Fleece by Beth Smith

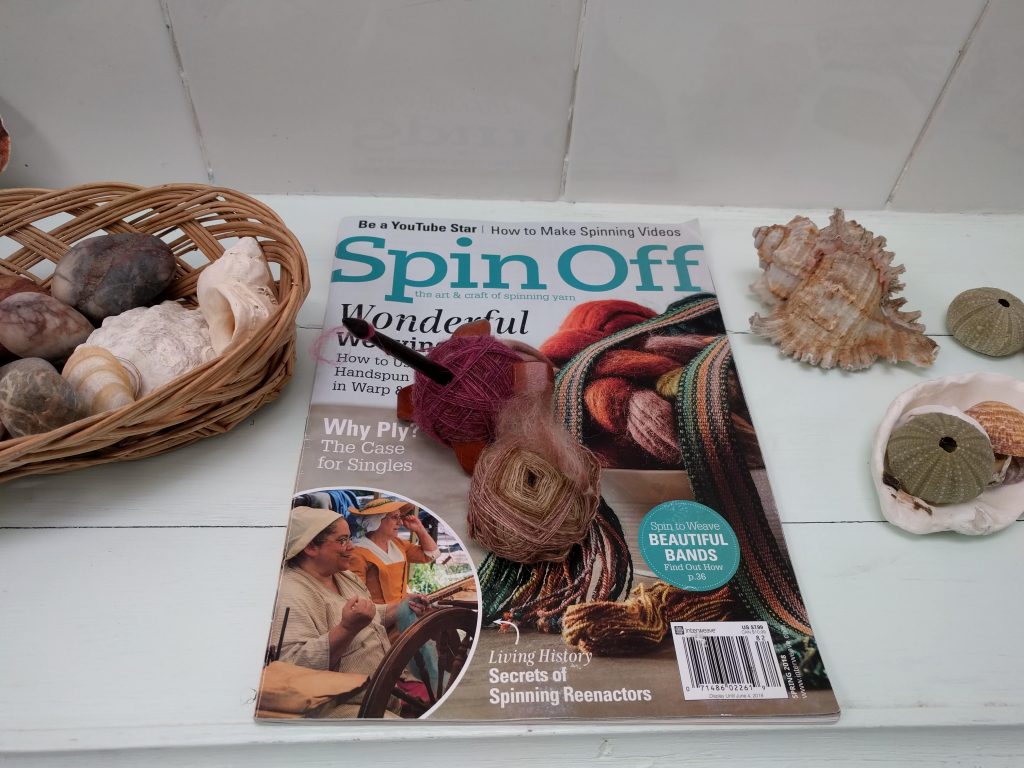
The Abby’s book is the first spinning book I bought as a new spinner back in 2013, along with a couple of issues of Spin Off Magazine. It is an excellent book if you are just starting off on your spinning journey. Her no nonsense, yet encouraging writing style is very clear, as she guides you through the technical aspects and physics of spinning on a spindle. I spun exclusively on spindles from 2013 -2017, when I was able to afford to buy my Lendrum DT wheel and I still love them for small projects with luxurious fibres, or for sampling and travelling. Every summer I take a small project bag and my my mini Turkish spindle from Subterranean Woodworks with me to Scotland.

Books 2&3 cover similar territory, in that Jillian and Felicia are both writing about taking hand dyed fibres and drafting and manipulating them using different drafting, blending and fibre preparation techniques. Where they differ is that Felicia’s book is aimed at spinners and knitters who would like to learn to dye some of their own fibres and yarn at home. I found this book very helpful for that, along with Gail Callahan’s book Hand Dyeing Yarn and Fleece. When I want to spin, but I’m not sure about what I want to spin, I love dipping into these books and trying out some of the techniques in the books. Colour and the manipulation of colour is one of the reasons I love spinning so much, you can really come up with combinations that can be difficult to find, or replicate with commercial yarns, especially fractal and gradient yarns.

The fourth book is all about texture. I love textured yarns for weaving and smoother, finer yarns for knitting. The samples in Sarah’s book are all spun with undyed white fibres, so that you can see the intricate ply structures clearly, without the distractions of lots of bright colours and there are clear step by step photos for each type of yarn. Again this is another book I turn to often when I feel like trying something different. I have been experimenting with thread plying corespun yarns and spiral plying and I have also been exploring some of the different ways to spin sock yarns that are in this book. If you are interested in exploring art yarns further, I can recommend Jacey Boggs Faulkner’s Craftsy course called Spinning Art Yarns, my son loved the part where she shows you how to make yarn moustaches in order to make Beehive’s, that part of the video had him crying with laughter and sparked his interest in trying a bit of spinning for himself. I also recently joined the Fibery Goodness Community over at Tiny Studio, they have some wonderful video tutorials.

https://www.fiberygoodness.com/

The fifth book is one I bought a couple of years after buying my wheel. I had joined a few spinning groups on Ravelry and there were interesting discussions about how different breeds had lock structures that were more suitable for smooth, drapey yarns, while others were more bouncy and sproingy. I had been spinning Corriedale and feeling disappointed with my slightly crunchy results and Beth’s advice to try spinning it over the fold was very helpful, the result was a softer yarn, with lots more loft. I regularly look at this one if I’m trying a breed of wool that I haven’t tried before and I want to make some samples.

Do you have a favourite spinning book? I would love to hear which books have inspired you the most and why.

Under The Influence – wool fumes…that is…

Photo shows singles, two samples and lace weight yarn, made from gorgeous fibres from Dragonfly Fibers and Wingham Woolworks from the UK. I love working with their fibres, as their colours are always gorgeous and easy to spin.

Anyone that knows me, knows that I have a bit of a love/hate relationship with social media. I love how it can bring people from all over the world together to share their hobbies and interests. I especially love photo heavy crafting blogs, Instagram and You tube videos, but I’m also a bit of (a lot of) an introvert, who isn’t always so good at expressing themselves, except through my work. I do love being able to keep up with friends, especially as regular letter writing, or phone conversations are not my strong point.

I haven’t been on Facebook, or Ravelry much since both changed their interfaces recently. I really miss friends there, but I can only view those websites for short periods of time, before I get migraine headaches from them, so I tend to go on for a few minutes, update things, check in on a few close friends and get off again, rather than having it on in the background like I used to. Before anyone says “Have you really tried the new version?” again, yes I have, but the migraine is not worth it, especially as my son is doing home learning and needs me to be there right now. So for now, I think I’m going to try to make more of an effort to put more of my work on this blog and Instagram. Especially as other ways of showing my work is more difficult due to the current restrictions. It may be irregular, just when I feel I have some progress to show.

Instagram isn’t ideal either, but I love the textile community there, with so many wonderful weavers, spinners, knitters and beaders. I also keep up with friends that are jewellery artists and musicians on Instagram and artists and musicians that inspire me every day. One thing I haven’t gotten involved with is online influencing, I have been asked, but I usually block those requests. If I mention a product, book, or yarn, or fibre on my page it is usually something I have purchased for myself, or been given as a gift by family, or friends and if I love it, I share it. I’m not adverse to giving product reviews if they are textile, or craft related, but they have to be from companies I trust and respect and I would always want to give a considered, constructive review, not necessarily a glowingly positive one.

A Small Change of Scene

Please note that from today, Tuesday 28th of April, Ten storey love song’s web store is now at the following address:
https://tenstorey.square.site/

I am working from my small home studio, while homeschooling my son during the current lockdown, commissions are welcome based on a an estimate and materials deposit.

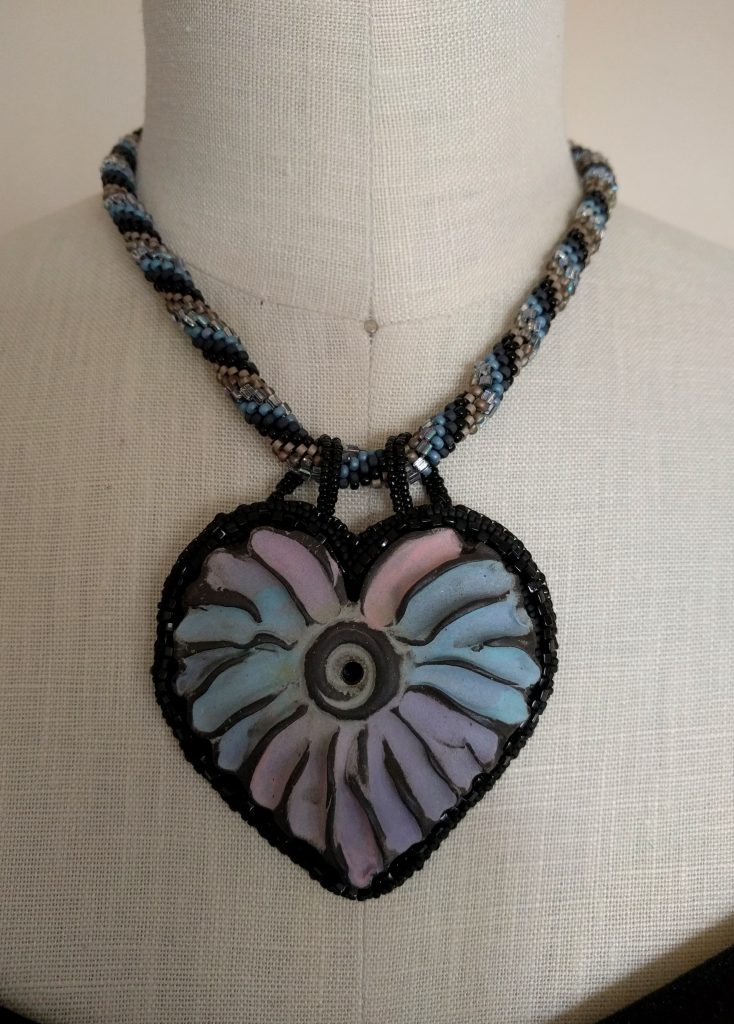
This design was inspired by the colours of the ceramic pendant which was made by my friend Lisa Peter Russ. The necklace was created by me using bead crochet and a mix of Czech and Japanese seed beads.

Bend Me, Break Me…

Bending my brain trying to work out how to draft a fitting sloper and fitting block based on my own measurements. I would love to see if I can use it as a base for other designs of my own. I have been following Suzy Furrer’s Blueprint class and enjoying that, but my computer keeps crashing, so my drawing is still at the halfway stage – I’m not sure how much of it can be seen in the photo, I am working lightly in pencil, so I can rub it out easily.

https://www.instagram.com/p/B9o4J69Jsf-/

The Muslin and drawings on the left are ones I decided to drape for comparison, firstly on Audrey, my dress form, then adding alterations on top for me. Have you ever made a sloper? Did you find it useful, difficult, or easy?

I’m enjoying two you tube channels’ just now one is called Sew Custom and the other is The Closet Historian, Suzanne and Bianca have very different clothing styles, but both use fitting blocks based on their own measurements to design some beautiful clothing for themselves that fit really well, as they are based on their own measurements. Which is something I would love to try to learn to do.

https://www.youtube.com/watch?v=jmVbt0jl9A8

https://www.youtube.com/watch?v=4UnU4nGrScE

Learning New Skills

I have always done a little bit of sewing, but mostly it was small craft projects like doll clothes when I was a little girl, or bags, cushions and fancy dress and theatre props and costumes when I was a student. I never really made many things that I could wear, however in recent years I have been finding that I find it harder to find things that I really like in my size that fit well, or really fit with the way I want to look that I can afford.

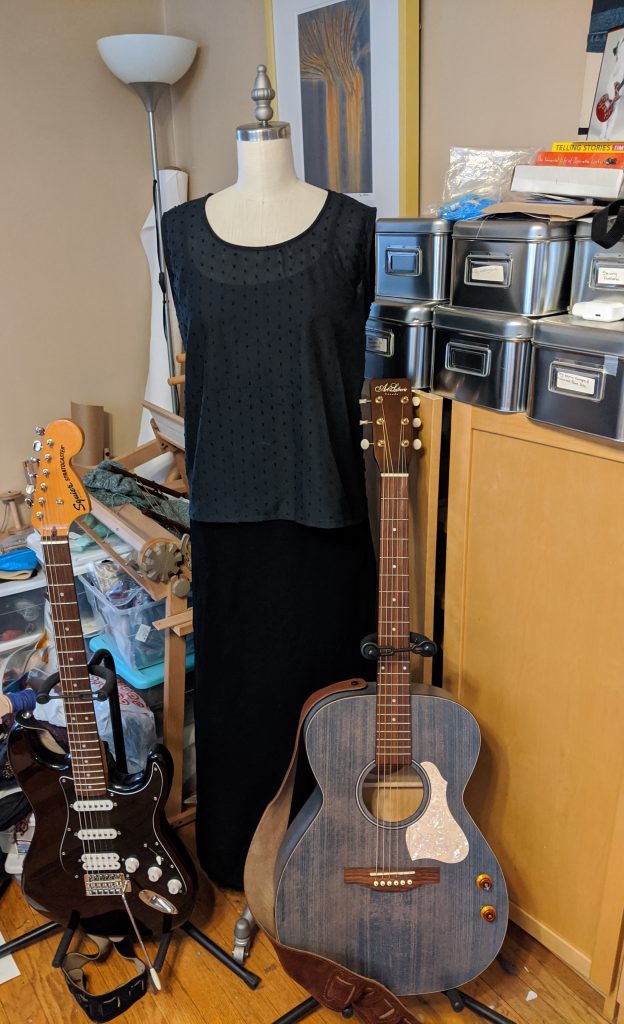
I also play music at the Old Town School of Folk Music in Chicago and I thought it would be nice to have some new tops, so that I look a bit smarter and that are a bit more fun than my usual scruffy jeans and t-shirts. I would also love to make some shirts for myself, ones that are comfortable and don’t ride up, or down when I have to wrap my arm around the body of the guitar to play it and that don’t gape at the bust, which is a problem I have with many commercially made shirts.

I had cut out the Grainline Studio Scout Tee a couple of years ago, but I put away the pieces after messing up sewing the sleeves into the first version I made, so I never showed the finished one. This time I took my time pinning and tacking (basting) everything into place, using bias binding at the neckline and armholes and I love the new version. The Swiss Dot fabric will be lovely and light for summer, but I will need to wear a camisole underneath, as it is rather sheer.

https://grainlinestudio.com/

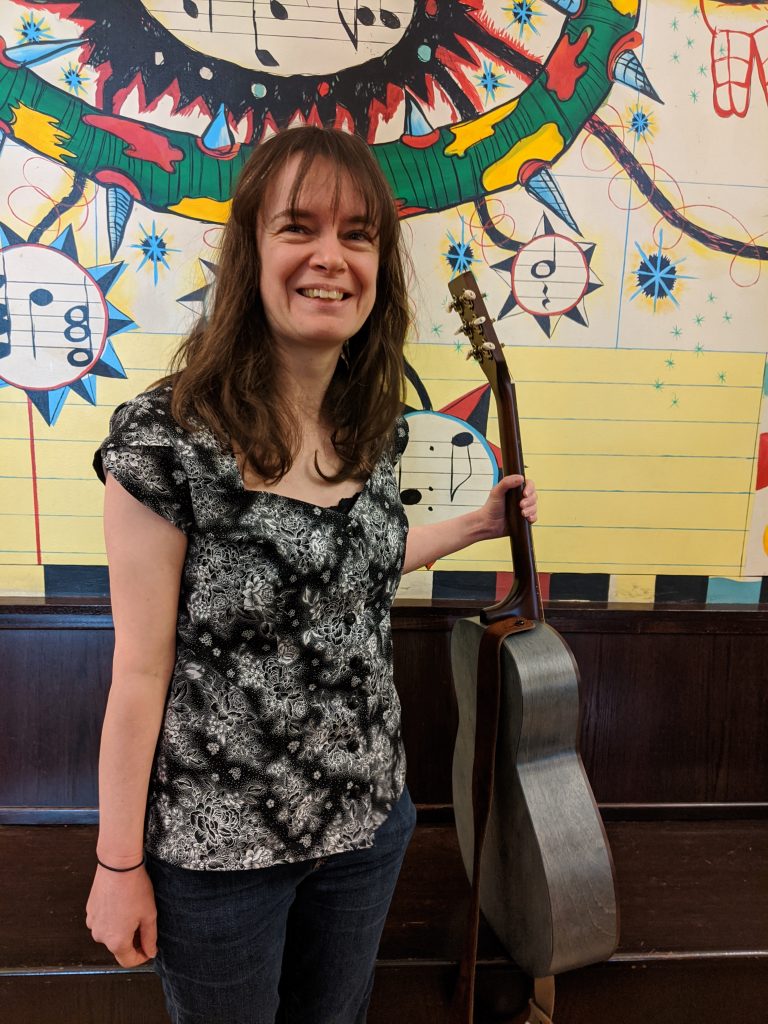
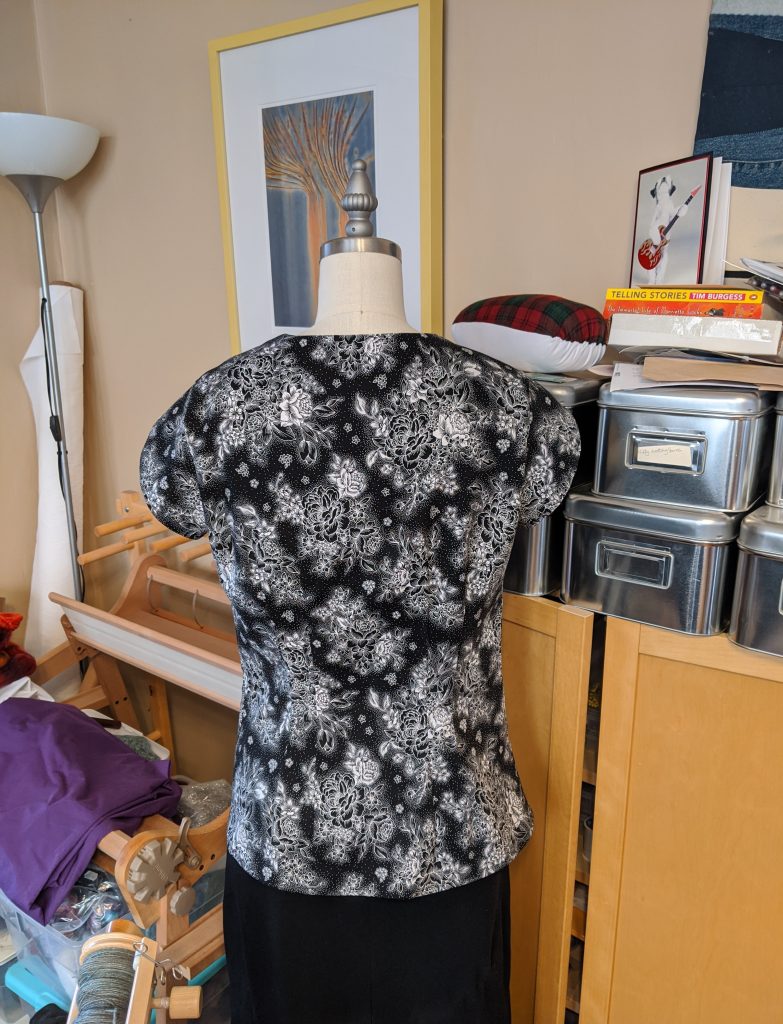
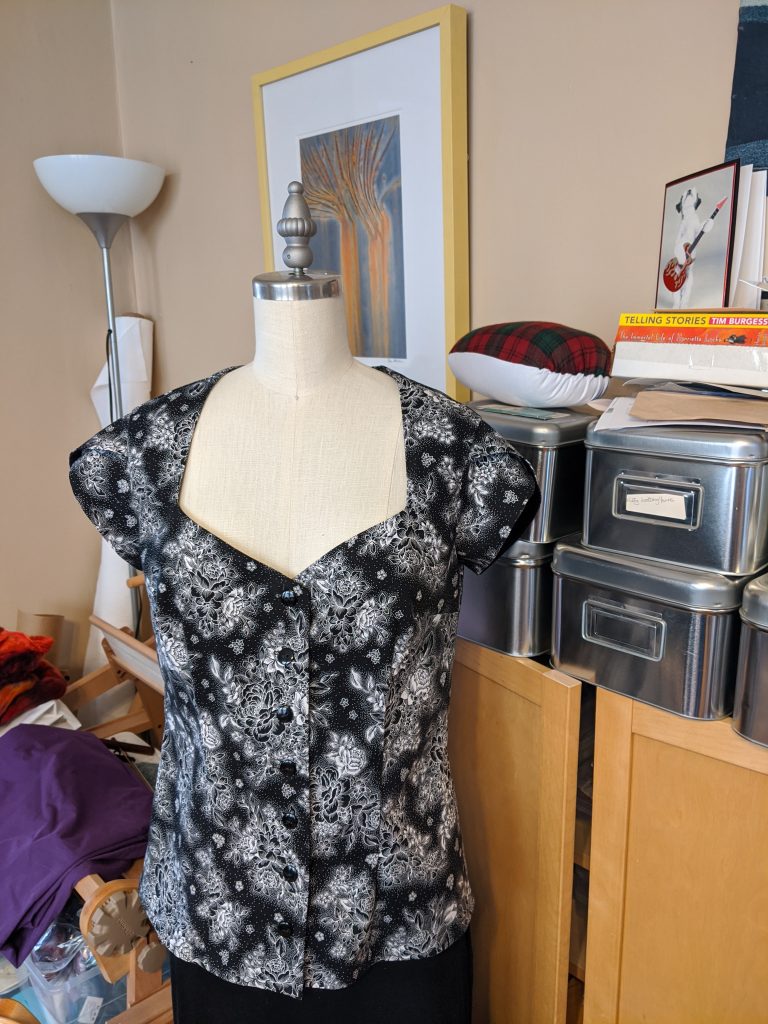
The second top I made is a Gertie (Gretchen Hirsch) design for Butterick B6217. It is a summer blouse with a sweetheart neckline and a tulip sleeve. There are also a few other style variations you can make including a bow at the front, but I felt that the quilting cotton fabric I had was a little thicker than the cotton lawn that the pattern asks for so I left that off on this version. I want to make a sleeveless version too with a different fabric and colour. One of the things I did notice is that for 5ft 2″ me this pattern worked really well, but if you are tall, you will probably want to lengthen the body and check that the length of the armholes fits you with a muslin before you cut into your project fabric. The only two things I did differently were to cut the back as one piece on the fold and I went for a size 10, my measurements put me halfway between the 10 and the 12, but the amount of ease in the pattern meant that the 10 was a better fit across the bust and shoulders.

http://www.blogforbettersewing.com/2015/10/butterick-6217-in-stitchy-rose-challis.html


I learned lots from this project, I had never really used the automatic buttonhole foot on my 19 year old Kenmore sewing machine, it worked well, but I’m glad I tried it out on some fabric scraps first, as it didn’t seem to automatically stop itself! I had to get to where it was about to do the last few stitches at the end, then I took my foot off the gas, then used the hand wheel to complete the last 2-3 stitches each time. It was nerve racking, but I’m glad I made myself do it. I bought a buttonhole gauge and chisel as well, which made it easier to space the buttonholes evenly down the front band of the blouse and to cut them without tearing the fabric, or risking stabbing myself with a seam ripper. I don’t know about you but watching other people use seam rippers to open buttonholes made me cringe, one slip and it could be very painful!

I also experimented with using my Juki serger/overlocker for finishing off the edges of the fabrics and the inside of the sleeve hems are bias bound, so they look very clean and neat – I can see me getting very nerdy about different finishes and techniques in future. I also want to learn to add beads and embroidery to clothing as well and to get better at fitting patterns and maybe some pattern drafting and draping too.